 Birch Bay
 New-Construction Windows in Sumas: Getting It Right the First Time
When a house in the Sumas area is framed and ready for windows, that installation only happens once without tearing into finished walls. Unlike a replacement window going into an existing rough opening, new-construction windows are set with a nailing fin directly into the framing, then integrated with the house wrap and flashing before siding ever goes on. Every layer has to be sequenced correctly, because once the siding crew closes things up, mistakes in the window install are hidden until they show up as a stain on drywall or a soft spot in the sill two or three winters later.
For homes going up in this part of Whatcom County, that first install matters more than in a lot of other climates. The weather here doesn't give a poorly flashed window much time to fail — it gives it a head start.
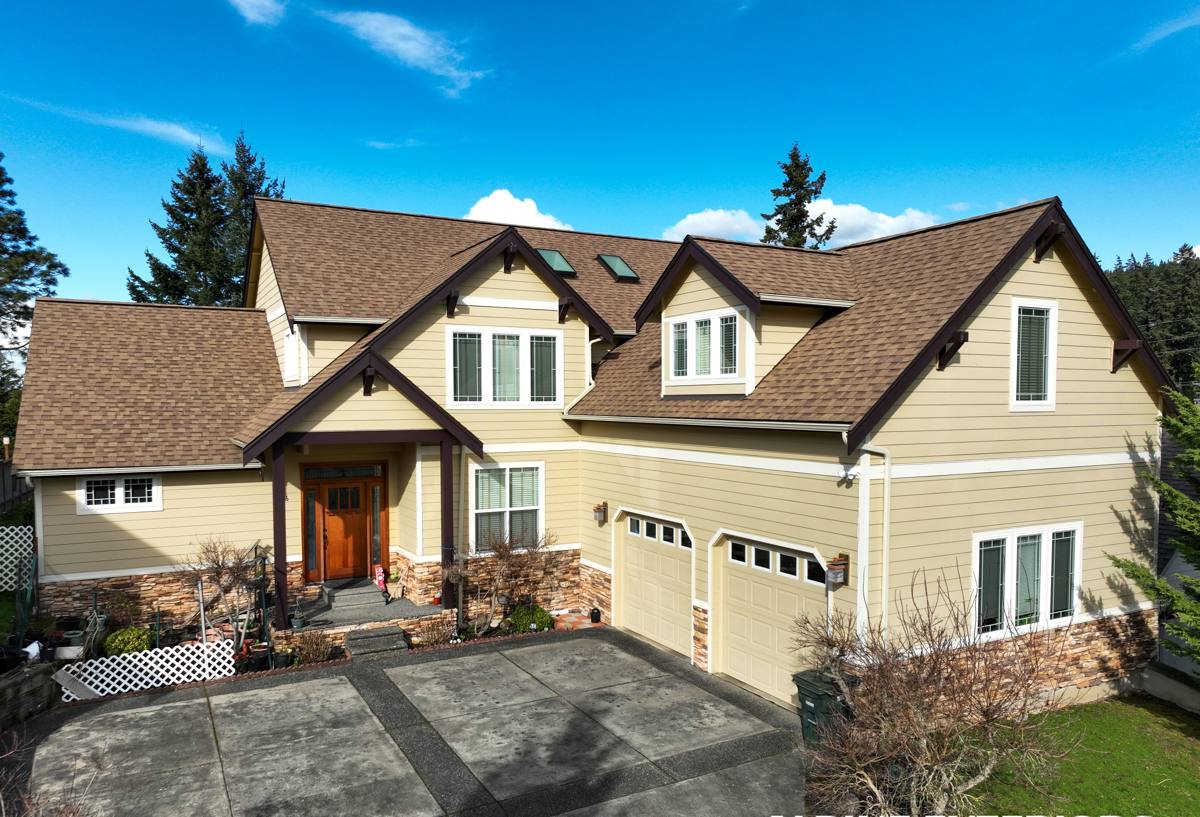
What Birch Bay's Climate Asks of a Window Install
Sumas sits inside the same coastal weather pattern that defines Birch Bay siding and window work generally: salt-laden air off the water, long stretches of wind-driven rain, and a moss season that runs longer here than it does inland. None of that is exotic, but together it changes what "good enough" looks like for a window installation.
- Salt air accelerates corrosion on unprotected fasteners, hinges, and cheaper cladding — it rewards stainless or coated hardware and frame materials that don't rely on paint alone for protection.
- Driving rain means wind can push water sideways and upward against a wall, so flashing that only handles water falling straight down isn't enough. Sill pans and properly lapped house wrap matter more here than in drier regions.
- Extended moss and moisture season keeps siding and trim damp for longer stretches, so any gap or reverse-lapped flashing detail has more months per year to do damage before anyone notices.
A window that's installed to a generic national standard will usually survive. A window installed with this specific coastal exposure in mind will hold up with far less maintenance and far fewer callbacks.
Where New-Construction Window Failures Actually Start
Almost every leaking new-construction window we've been called to look at traces back to the same handful of installation shortcuts, not to the window unit itself. Manufacturers build windows to a tested standard; what fails is usually the field work around the opening.
Sill Pan Flashing
The bottom of a rough opening is the single most important detail in the whole installation. A sloped sill pan — sheet flashing or a manufactured pan formed to drain water outward instead of letting it pool against the framing — is non-negotiable in a climate that sees this much rain. Skipping it, or using a flat piece of flashing tape instead of a true sloped pan, is one of the most common shortcuts we see from crews who aren't used to building for this kind of weather.
Weather-Resistive Barrier Sequencing
House wrap has to lap over the top flange of the window and tuck under the sides and bottom in the correct shingle-style order — water always moving down and out, never trapped behind a seam. Get the sequence backwards even in one spot and that one spot becomes the leak point years later.
Fastening and Shimming
Nailing fins need full contact with sheathing and consistent fastener spacing, and the frame itself needs to be shimmed square and plumb before it's fastened — an out-of-square frame stresses the sash, strains weatherstripping, and shortens the working life of the hardware.
Sealant as a Backup, Not a Plan
Sealant belongs in specific joints, not as a substitute for correct flashing. A window that depends on a bead of caulk to stay dry is a window that will eventually leak, because caulk is a maintenance item, not a waterproofing system.
Choosing a Frame Material for This Exposure
There's no single "best" window frame material — the right choice depends on budget, the home's design, and how much long-term maintenance the owner wants to take on. Here's how the common options hold up specifically against salt air, rain, and moss exposure:
| Frame Material | Coastal Durability | Maintenance | Typical Trade-Offs |
|---|---|---|---|
| Vinyl | Good — won't corrode or rot | Low | Budget-friendly; frame color and size options are more limited than clad options |
| Fiberglass | Very good — dimensionally stable, resists moisture and UV | Low | Higher upfront cost; performs well over a long ownership timeline |
| Aluminum-clad wood | Good exterior protection if flashed correctly | Moderate — interior wood still needs normal upkeep | Attractive sightlines; cladding must be properly sealed at joints to keep water off the wood core |
| Bare wood | Weakest in this climate without diligent upkeep | High | We generally steer new-construction clients away from unclad wood on directly exposed elevations, given the maintenance burden in a wet coastal climate |
For homes with a lot of west or south-west wall exposure — the sides that catch the most wind-driven rain in this area — we usually recommend vinyl or fiberglass over bare wood, simply because it removes an ongoing maintenance task rather than adding one.
Meeting Washington's Energy Code and Egress Rules
New-construction windows in Whatcom County have to meet Washington State's energy code requirements for U-factor and, where applicable, solar heat gain coefficient, along with the state building code's egress requirements for bedroom windows. This isn't optional paperwork — it's inspected, and getting it wrong after the siding is closed up means real rework.
- U-factor — measures how much heat the window loses; lower is better for this heating-dominated climate.
- Egress sizing — bedroom windows need a minimum clear opening, sill height, and net opening area for emergency escape, and that has to be confirmed before rough framing is finalized, not after.
- Tempered glass zones — code requires tempered (safety) glass near doors, low sills, and other hazard locations; missing this is a common inspection flag on new builds.
We check window specs against these requirements before the order goes in, not after the units show up on site — swapping a wrong-spec window after delivery costs everyone time and money.
Our Installation Process
- Rough opening check. We verify every opening is square, plumb, and sized correctly against the actual window schedule before a single unit goes in.
- Sill pan flashing. Sloped pan flashing goes in first, draining outward, before the window ever touches the opening.
- Dry-fit and shim. The window is set, shimmed level and square, and fastened per the manufacturer's schedule — not just "close enough."
- House wrap integration. Wrap is lapped over the top flange and under the sides and bottom in correct shingle order, taped at all seams.
- Interior and exterior sealant. Sealant is applied at the specific joints designed for it — a backup layer, not the primary water barrier.
- Final inspection. We walk every opening a second time before siding closes it in, because that's the last chance to catch anything.
What a Correct Job Costs — and What Drives the Price
New-construction window installation pricing depends less on the window brand and more on the number of openings, their size, access, and the home's overall complexity. Rather than quote a number that won't mean much without seeing the actual plans, here's what typically moves the price:
| Factor | Why It Matters |
|---|---|
| Number and size of openings | More openings and larger units mean more flashing detail work and labor hours |
| Frame material selected | Vinyl, fiberglass, and clad-wood units carry different material costs |
| Wall height and access | Second-story and vaulted openings need staging or lift access, adding time |
| Special shapes or egress requirements | Custom or oversized bedroom windows and specialty shapes cost more to source and install correctly |
| Coordination with framing and siding trades | Tighter build schedules can add efficiency; last-minute changes add cost |
We're glad to walk through actual plans and give a real range once we know the window schedule for the build.
Why a Crew That Already Works Sumas Matters
Anyone can install a window to a written spec sheet. What's harder to hand a crew that isn't from here is judgment about how this specific stretch of coastline behaves — which elevations take the worst wind-driven rain, how long moss stays wet against trim in a shaded corner, and where salt exposure means upgrading fasteners even when the spec sheet doesn't require it. A crew that regularly works Birch Bay and the surrounding Whatcom County coastline builds that judgment into every opening without being told to.
It also means fewer surprises during inspection and fewer callbacks after move-in, because the flashing and fastening decisions were made with this exact climate in mind from the start — not adapted from a standard written for a drier part of the state.
Pre-Close-In Checklist for Homeowners and Builders
Before siding crews close up the walls, it's worth confirming these items on any new-construction window install in this area:
- Sloped sill pan flashing installed under every window, draining outward
- House wrap lapped in correct shingle order over and around each opening, with all seams taped
- Every unit shimmed square and plumb, not just fastened flush
- Corrosion-resistant fasteners used given the salt air exposure
- Egress-sized units confirmed in every required bedroom
- Tempered glass confirmed in all code-required hazard locations
- Sealant applied only at designated joints, not as a substitute for flashing
If you're planning a new build or an addition in the Sumas area and want windows installed with this climate actually accounted for, we're happy to walk the plans with you and put together a straightforward, no-pressure estimate.