 Birch Bay
 Siding Repair Built for Birch Bay Village's Shoreline Climate
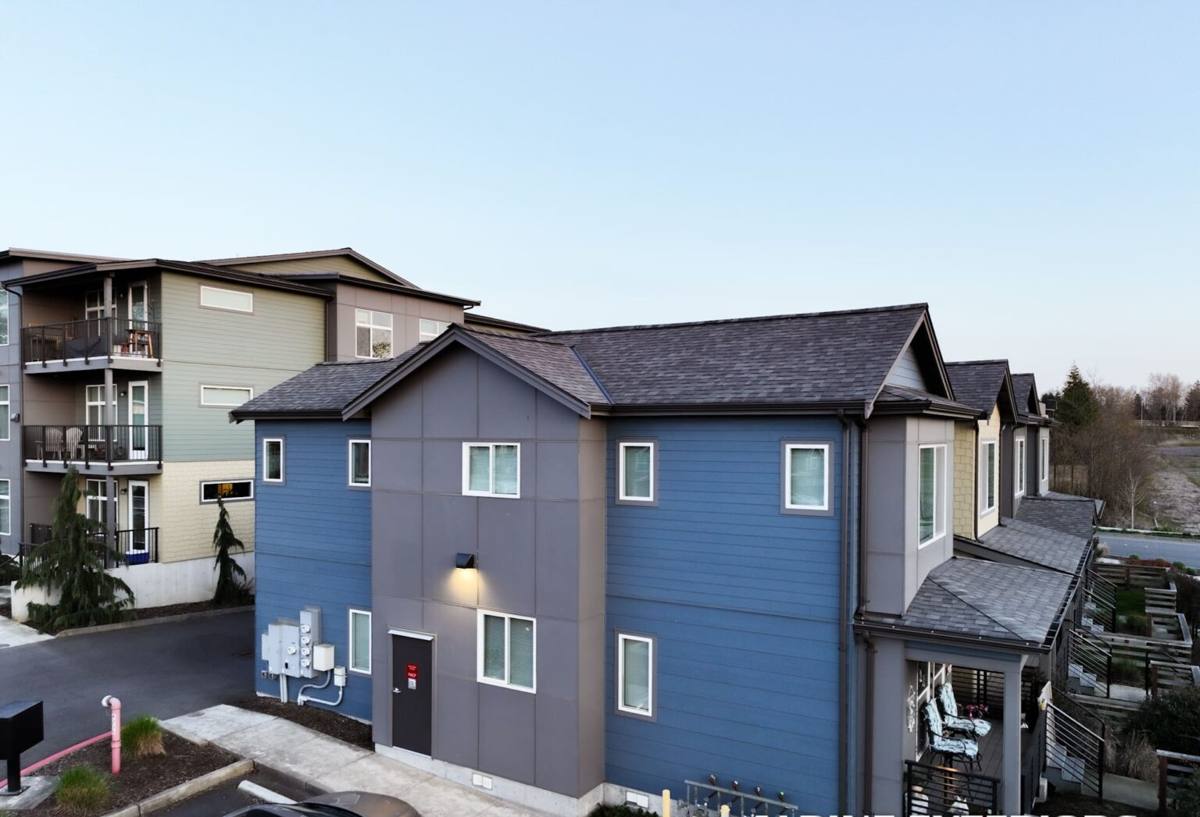
Birch Bay Village sits close enough to the water that its homes take on weather most inland Whatcom County houses never see. Salt-laden air off the bay, wind-driven rain that finds every gap in a wall assembly, and a moss season that can run most of the year all combine to age siding faster than a textbook maintenance schedule would predict. A repair that works fine in a sheltered inland neighborhood can fail within a season here if it doesn't account for that exposure.
This page is about one job, done right, in one place: siding repair for homes in and around Birch Bay Village. Not a sales pitch for a full re-side, not a generic list of siding tips — a straight explanation of what's actually happening to siding in this specific stretch of coastline, what a correct repair looks like, and why the crew doing the work matters as much as the materials.
Why Birch Bay Village Siding Wears Differently
Three things drive most of the repair calls we see in this area, and they compound each other:
Salt Air
Airborne salt from the bay settles on exterior surfaces and accelerates corrosion of fasteners, flashing, and any exposed metal trim. On wood-based or engineered wood siding, that same salt-laden moisture keeps surfaces damp longer between rain events, which feeds rot at joints and butt seams.
Driving Rain
Wind off the water doesn't just fall as rain — it drives it sideways into wall assemblies, forcing water behind siding at laps, seams, and penetrations that would stay dry in a calmer inland location. Once water gets behind the cladding, the house wrap and flashing details underneath are what actually keep the wall dry, not the siding surface itself.
Moss and Algae
Shade, moisture, and mild temperatures make Birch Bay a long moss season. Moss holds water against the siding surface and works into any gap it can find, which is why moss-covered siding often looks worse structurally than it appears from a distance.
None of this means Birch Bay Village homes are somehow harder to protect — it means repairs here have to be done with this exposure in mind, not with a one-size-fits-all patch.
Signs Your Siding Needs Repair, Not Just Cleaning
A lot of what looks like a cosmetic problem is actually a sign of moisture getting past the siding. Here's what we look for on every inspection:
- Soft or spongy spots when you press on the siding, especially near the bottom courses or around windows
- Visible gaps, cracks, or separation at seams, corners, and butt joints
- Peeling or bubbling paint, which often means moisture is trapped underneath rather than a simple paint failure
- Persistent moss or dark staining that returns quickly after cleaning
- Warping, buckling, or boards that no longer sit flat against the wall
- Rust streaks below nail heads or trim, a sign fasteners are corroding
- Interior signs — musty smell, discoloration on drywall, or peeling interior paint on an exterior wall
Any one of these is worth a look. Several together usually mean water has been getting behind the siding for a while, and the repair needs to address the wall assembly, not just the visible board.
What a Correct Repair Actually Involves
A siding repair that only replaces the damaged board and stops there is a temporary fix in this climate. Done correctly, a repair addresses the whole path water could take:
Find the Real Cause First
Damaged siding is usually a symptom. Before replacing anything, we check flashing at windows, doors, and roof-to-wall transitions, look at how the siding was originally lapped and fastened, and check the condition of the water-resistive barrier underneath if the damage is significant enough to expose it. Replacing a board without fixing the entry point just buys a year or two before the same spot fails again.
Cut Back to Sound Material
Rot and moisture damage spread further than they're visible from the outside. We remove material until we're back to solid, dry substrate — not just the section that looks bad.
Repair the Water Management Layer
Any exposed house wrap, flashing, or sheathing gets repaired or replaced before new siding goes back on. This is the step that gets skipped on rushed patch jobs, and it's the reason those repairs fail again.
Match Material and Reinstall Correctly
New siding is cut, primed (if needed), and installed with correct lap, fastening, and clearances — not just nailed over the gap. Where possible, factory-finished material is used so the color stays consistent instead of relying on field-applied paint that will fade or peel at a different rate than the surrounding siding.
Reseal the Right Joints, Not Every Joint
Caulk is a maintenance item, not a substitute for correct flashing. We seal the joints designed to be sealed and leave drainage paths clear elsewhere — sealing everything shut is a common mistake that traps moisture instead of letting it drain.
Common Repair Scenarios We See in This Area
| What We Find | Likely Cause | Correct Fix |
|---|---|---|
| Soft, swollen siding near the bottom of a wall | Splash-back moisture and poor grade clearance | Replace damaged sections, correct clearance where possible, reinstall with a drainage gap |
| Damage concentrated around windows | Failed or missing flashing at the window head | Repair flashing first, then replace siding around it |
| Recurring moss and staining after cleaning | Shade, poor airflow, and moisture retention | Clean, treat, and address any trapped moisture behind the siding rather than repeat surface cleaning |
| Cracked or warped boards on the wind-exposed side of the house | Direct wind-driven rain exposure and material fatigue | Replace with material rated for the exposure, verify fastening pattern |
| Rust streaking below trim or fasteners | Corrosion from salt air on non-coastal-rated fasteners | Replace with corrosion-resistant fasteners and trim hardware |
How We Approach a Repair Call in Birch Bay Village
Every repair starts with an honest assessment, not a quote written from the driveway. That means:
- A close inspection of the damaged area and the surrounding siding, including probing for soft spots beyond what's visibly damaged
- A look at flashing and water management wherever damage suggests moisture got behind the wall
- A clear explanation of what's causing the damage, not just what it looks like
- A written scope that separates "needs to be fixed now" from "worth watching," so you're not paying to replace sound siding
- Correct reinstallation with attention to lap, fastening, and drainage — the details that determine whether the repair lasts
If an area has degraded enough that patch repair isn't the honest answer — for example, siding that's failing broadly rather than in one isolated spot — we'll say so plainly, and talk through what replacement would look like rather than stack repairs on a wall assembly that's past the point of patching.
Why We Rebuild With James Hardie When Siding Needs More Than a Patch
When a repair area is small and isolated, matching the existing material is usually the right call. But when we're replacing larger sections, or a homeowner asks what to do about a wall that keeps needing attention, we install James Hardie fiber cement — it's the only siding product we install, on repairs or full re-sides. In this climate, that comes down to a few practical points: it's non-combustible, it holds its factory-applied ColorPlus finish far longer than field-painted surfaces exposed to salt air and sun, and Hardie's HZ product lines are engineered for moisture and climate exposure rather than being a general-purpose product applied everywhere. We don't install vinyl, LP SmartSide, or cedar, because in a salt-air, high-moisture coastal environment, we've seen the maintenance burden and moisture sensitivity those products carry over time, and we'd rather stand behind one material we trust than offer options we wouldn't want on our own homes.
Why It Matters That We Already Work This Neighborhood
Siding exposure isn't uniform across Whatcom County, or even across Birch Bay itself — a wall facing the water takes different weather than one tucked behind trees a few blocks back. A crew that's already worked in Birch Bay Village knows to check flashing details before assuming a board just wore out, knows which sides of a house typically take the worst of the wind-driven rain, and doesn't have to relearn the local climate on your dime. That's the difference between a repair that's patched over and one that's actually fixed.
What Affects the Cost of a Siding Repair
| Factor | Why It Matters |
|---|---|
| Extent of hidden damage | Rot often extends beyond the visible area; more removal and rebuild means more labor and material |
| Condition of the water-resistive barrier | Repairing house wrap or sheathing adds a step but is what actually stops the problem from recurring |
| Access and height | Second-story or hard-to-reach sections require more setup time |
| Material match | Matching existing siding, or transitioning to Hardie for a larger section, affects material cost and lead time |
| Number and location of repair sites | Several small repairs scattered across a house cost more in total setup than one consolidated area |
We won't quote a repair without seeing it — too much depends on what's actually behind the damaged siding, not just how it looks from the yard.
Get a Straight Answer About Your Siding
If you're seeing soft spots, recurring moss, or damage that keeps coming back in the same spot, it's worth having someone look before it spreads further into the wall. We offer free, no-pressure estimates for Birch Bay Village homeowners — we'll tell you honestly whether it's a repair or something bigger, and what we'd do about it. Fill out the form below to get started.