 Birch Bay
 New-Construction Windows: A Different Job Than Replacement
When a home is going up from the studs out in Birch Bay Village, the windows go in before the siding, before the trim, and often before the interior drywall. That's what separates new-construction window installation from a replacement job. There's no old window to pull, no existing flashing to work around, and no finished wall to patch back together. Instead, the window becomes part of the building envelope from day one — tied into the weather-resistive barrier, the flashing sequence, and the framing itself.
Done right, this is the easiest point in a home's life to get the water management correct. Done wrong, it's the point where problems get built in permanently, hidden behind siding and trim for years until they show up as rot, staining, or a musty smell nobody can locate. On a site as exposed to weather as Birch Bay Village, there's very little room for shortcuts at this stage.
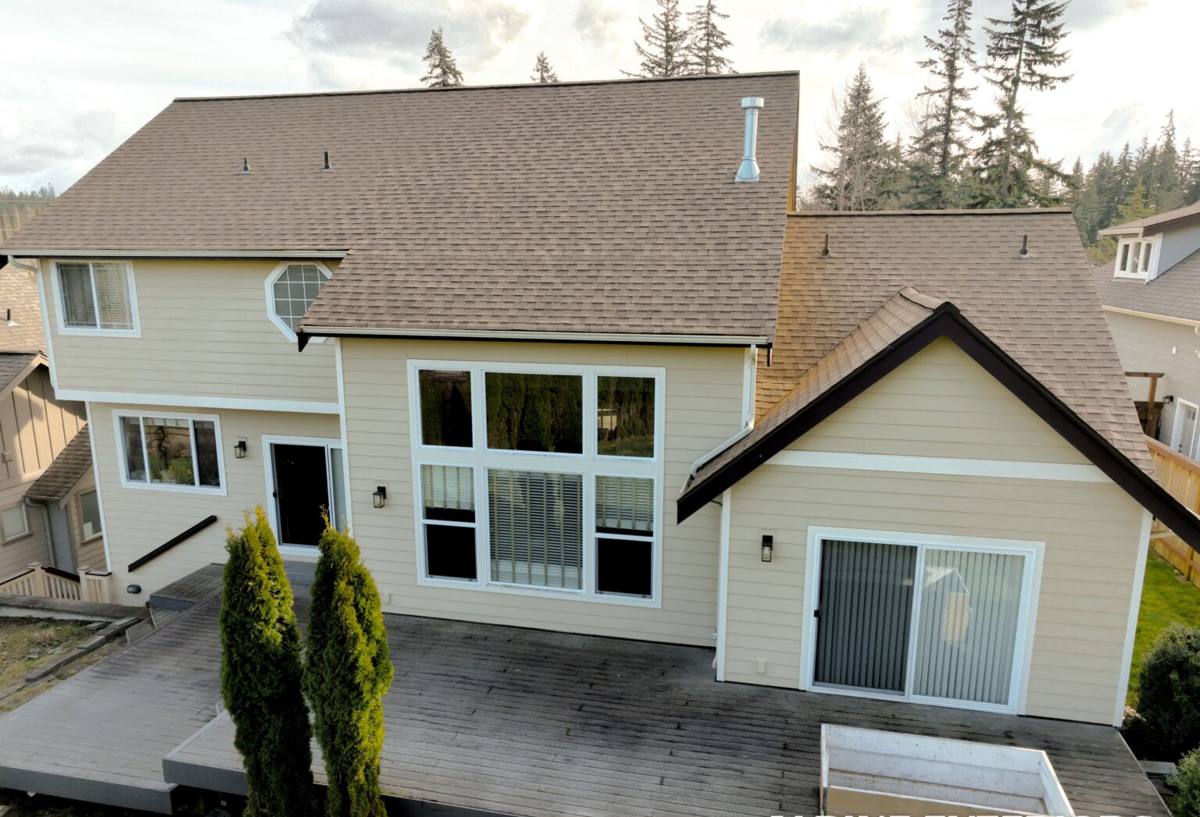
What Birch Bay Village's Climate Actually Demands
Birch Bay sits right on the water, and that proximity to Puget Sound and the Strait of Georgia shapes everything about how a building envelope should be built here. Three things matter most for new-construction windows in this area:
Salt Air and Corrosion
Homes near the water in Whatcom County deal with airborne salt that settles on and around exterior components. Over years, that salt exposure accelerates corrosion on fasteners, hinges, and lower-grade hardware. It doesn't ruin a window overnight, but it will find every piece of metal that wasn't specified for a marine-influenced environment and slowly degrade it faster than the same window would wear a few miles inland.
Driving, Wind-Driven Rain
Rain in Birch Bay Village rarely just falls straight down. Wind off the water pushes it sideways into wall assemblies, which means water pressure at the window opening isn't a rare storm event — it's a routine condition the flashing and sealant details need to handle over and over, season after season.
A Long Moss and Algae Season
Whatcom County's wet stretch runs long, and that means extended periods where surfaces near windows — sills, trim, adjacent siding — stay damp enough to grow moss and algae. That growth holds moisture against materials longer than a quick-drying climate would allow, which is part of why sill design and drainage details matter more here than they do in drier parts of the state.
What a Correct New-Construction Install Actually Involves
A new-construction window opening is built in layers, and each layer has to overlap the one below it correctly — like shingles — so water is always directed outward and downward, never trapped behind the cladding.
The Flashing Sequence
Before the window ever goes in, the rough opening needs a sill pan — a formed or built-up barrier that catches any water that gets past the window and directs it back outside instead of into the framing. The weather-resistive barrier (house wrap) gets cut and integrated at the jambs and head so that it laps correctly with tape or flashing membrane. The window's nailing fin is set into that sequence, then the head flashing goes on last, lapping over the top of the fin so water sheds down and over, never behind.
Sealant: A Backup, Not the Plan
Caulk and sealant have a place in a new-construction install, but they're the backstop, not the primary water management strategy. A window that depends on a perfect, permanent bead of sealant to stay dry is a window that will eventually leak, because sealant is the first thing to fail as a building settles and materials age. We flash the opening so it sheds water mechanically, then use sealant to back that up — not the other way around.
Fastening and Rough Opening Tolerances
Windows need to be set plumb, level, and square in an opening sized with the right amount of shim space — too tight and the frame can bind or bow; too loose and the unit won't perform the way it's rated to. Fastening schedules (how many fasteners, what spacing, what type) come from the manufacturer's installation instructions, and following them is what keeps the warranty valid if a problem shows up later.
Choosing Window Frame Materials for This Environment
There's no single "best" frame material for every project — it depends on budget, the home's design, and how much long-term maintenance an owner wants to take on. But in a salt-air, high-moisture setting like Birch Bay Village, the trade-offs are worth understanding up front rather than discovering later.
| Frame Material | Salt Air / Moisture Behavior | Maintenance | General Cost Factor |
|---|---|---|---|
| Vinyl | Doesn't corrode or rot; performs consistently near the water | Low — occasional cleaning | Lower |
| Fiberglass | Very stable in temperature swings and moisture; strong resistance to warping | Low | Mid to higher |
| Aluminum-clad wood | Good exterior weather resistance, but relies on the cladding and seals staying intact over time | Moderate — watch cladding seams and interior wood over decades | Higher |
| Bare wood | Attractive but most exposed to moisture damage without diligent upkeep in this climate | High — regular refinishing needed | Higher (plus upkeep cost) |
We don't push one material as universally right. What we do insist on is matching hardware and fasteners to the environment — stainless or coated components near saltwater exposure, not standard-grade hardware that's fine sixty miles inland but shortens its service life here.
Coordinating With the Build Schedule
New-construction window installation only works smoothly when it's timed correctly with everyone else on the job site. We coordinate directly with the framer, the house wrap or WRB installer, and the siding crew so the sequence doesn't get out of order — because once siding closes in an opening, any flashing mistake underneath it is invisible until it fails.
What We Check Before Windows Go In
- Rough openings are square, plumb, and sized correctly for the specified window units
- The weather-resistive barrier is installed and lapped correctly at each opening
- Sill pans are formed and sloped to drain outward, not flat or sloped inward
- Head, jamb, and sill flashing materials are compatible with each other and with the WRB (mismatched tapes and membranes can fail to bond)
- Manufacturer installation instructions are on hand for the specific window line being used, since fastening and flashing requirements vary by product
That checklist takes an extra half hour on a job site. Skipping it can cost a homeowner years of hidden moisture damage behind finished walls.
Mistakes We See on New-Construction Openings
Most window leaks in new construction don't come from a defective window — they come from an installation detail that got rushed or skipped. The most common issues we correct or avoid on our own jobs:
- Sill pans left out entirely, relying only on caulk at the bottom of the opening
- House wrap taped in the wrong order, so water can get behind the flashing instead of over it
- Fastening schedules not followed, which can void manufacturer warranties even if the window itself performs fine for a while
- Sealant used as the primary water barrier instead of as a backup to proper flashing
- Standard hardware specified without accounting for salt air exposure this close to the water
Why Hiring a Crew That Already Works Birch Bay Village Matters
New-construction window work isn't just a product installation — it's a judgment call made dozens of times on every opening, about flashing sequence, material compatibility, and how much exposure a given wall faces. A crew that's already worked homes in Birch Bay Village and elsewhere in Whatcom County has already seen how wind-driven rain behaves on water-facing elevations, how long moss season actually runs, and which hardware holds up and which corrodes early near the water. That's the kind of knowledge that doesn't come from a manufacturer's install manual alone — it comes from doing this work, in this specific place, repeatedly.
It also means fewer surprises during permitting and inspection, since local building department expectations and typical wind/exposure considerations for this stretch of coastline are already familiar territory rather than something being figured out for the first time on your project.
What to Expect Working With Us
For new-construction projects, we start by reviewing window schedules and rough opening details with the builder or homeowner before installation day, so any mismatches between the plans and the actual framing get caught early rather than on-site under time pressure. We install using the manufacturer's specified flashing and fastening method for each product line, document the flashing sequence as we go, and stay in communication with the other trades on site so the sequencing doesn't get rushed out of order. Once the openings are closed in by siding, that work is largely out of sight — which is exactly why we treat it as the part of the job that has to be right the first time.
If you're building or framing a home in Birch Bay Village and want a straightforward look at what proper new-construction window installation should involve for your project, we're happy to walk the plans with you. Reach out for a free, no-pressure estimate — there's a form below to get started.