 Birch Bay
 Building New in Nooksack Means Getting the Windows Right the First Time
When you're framing a new home in Nooksack, the windows are one of the few components that get exactly one shot at a correct installation. Once siding, trim, and interior finish work close in around them, fixing a bad flashing detail or an out-of-square rough opening means tearing into finished work. That's a different risk profile than a replacement job, where a poorly performing window is at least visible and swappable. New construction rewards precision up front — and in this part of Whatcom County, the margin for error is thinner than in drier climates.
Nooksack sits inland enough to avoid direct surf spray, but the broader Birch Bay and Whatcom County air still carries a salt component, and the region's long, wet winters bring driving rain on a regular cycle. Add a moss season that can stretch six months or more on north-facing walls and shaded rooflines, and you have conditions that will find any gap in a window's weather barrier. We install new-construction windows with that reality in mind, not a generic installation checklist written for a drier region.
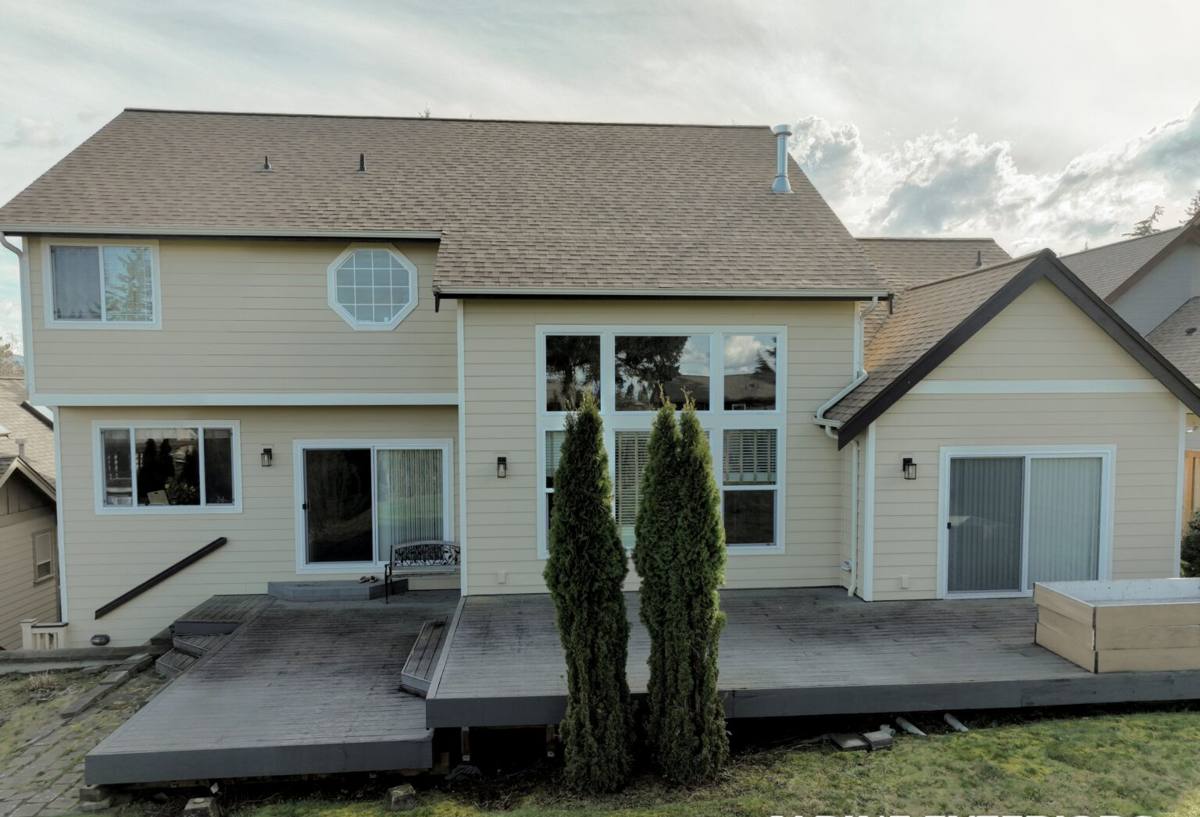
New-Construction Windows vs. Replacement Windows — Why the Distinction Matters
These are genuinely different products and different installation methods, and mixing them up is one of the most common mistakes we see on new builds where a crew is used to retrofit work.
- New-construction windows have a nailing fin (also called a nail fin or flange) around the perimeter that fastens directly to the wall sheathing before the weather-resistive barrier and siding go on. This lets the window integrate into the building's drainage plane as a system, not a patch.
- Replacement windows are typically flush-fin or block-frame units designed to fit into an existing, already-clad opening without disturbing the surrounding wall finish.
Using a replacement-style window in new construction — or installing a nail-fin window without properly lapping the water-resistive barrier — leaves a wall assembly that looks finished but drains water in the wrong direction. In a climate that sees sustained wind-driven rain, that's the kind of defect that doesn't show up for a year or two, and by then it's inside the wall cavity.
What a Correct New-Construction Window Installation Actually Involves
The Sequence Matters as Much as the Window
A quality new-construction window installation follows a strict order, and skipping or reordering steps is where most failures start:
- Rough opening is checked for square, level, and correct dimension against the window's actual manufactured size (not just the plan spec).
- A sloped sill pan is formed or installed at the bottom of the opening so any water that does get past the window has somewhere to go — outward, not into the framing.
- Water-resistive barrier is cut and prepped with the correct flashing sequence: sill first, jambs next, head last, always shingle-lapped so upper layers overlap lower ones.
- The window is set, shimmed plumb and level, and fastened through the nailing fin per the manufacturer's schedule — not just at the corners.
- Head flashing and, where the wall design calls for it, a drip cap are installed to direct water away from the top of the unit before siding closes everything in.
- Interior and exterior sealant beads go in specific locations only — sealing the wrong joint can trap moisture instead of shedding it.
Why the Sill Pan Isn't Optional Here
Some builders treat sill pans as a belt-and-suspenders extra in mild climates. In Whatcom County, with the volume of rain this area sees over a typical winter, we treat the sill pan as mandatory on every new-construction opening. It's inexpensive insurance against the one failure mode — water sitting at the sill — that causes the most rot damage over time.
Choosing Window Frames and Glass for Nooksack's Conditions
New construction gives you a real choice of frame material, since you're not constrained by an existing opening. The right call depends on budget, maintenance appetite, and how exposed the elevation is to wind and rain.
| Frame Material | Moisture & Salt Air Behavior | Maintenance | Typical Fit for Nooksack |
|---|---|---|---|
| Vinyl | Won't rot or corrode; performs well in humid, salt-influenced air | Low — occasional cleaning | Strong all-around choice for most elevations |
| Fiberglass | Very stable dimensionally; handles temperature and moisture swings with minimal expansion | Low | Good upgrade for exposed, weather-facing walls |
| Wood-clad | Exterior cladding protects the wood, but any breach in the clad exposes wood to sustained moisture | Higher — finish and joints need periodic inspection | Workable with disciplined maintenance; we're candid about the upkeep |
| Aluminum | Conducts cold and can condense in our damp winters; coatings help but don't eliminate the issue | Moderate | Less common recommendation for this climate |
Glass packages matter too. In this region we generally steer builders toward double-pane, low-E glass with argon fill as a baseline, and we'll talk through triple-pane where a wall faces prevailing weather or where the homeowner wants a quieter, more consistent interior through the winter storm season.
Our Process, From Rough Opening to Final Trim
We coordinate directly with the framing and siding schedule so windows go in at the right point in the build — not too early, before the wall is ready to receive them, and not so late that it holds up trim and siding crews.
- Site walk with the builder or homeowner: confirm window schedule, orientation of each opening, and any elevations that need extra attention (typically the sides that catch the most wind-driven rain).
- Rough opening verification: we check every opening against the actual window units before installation day, not just the architectural plans, since framing tolerances vary.
- Flashing and sill pan installation: done to a consistent sequence across every opening on the house, so there's no elevation where a shortcut crept in.
- Window setting and fastening: plumb, level, square, and fastened to the full schedule the manufacturer specifies for warranty compliance.
- Final inspection: operation check on every unit (open, close, lock), visual check of flashing laps, and photos of the flashing details before siding covers them — useful documentation for the builder's own records.
Where New-Construction Windows Go Wrong — What We Watch For
Most of the window callbacks we get on new builds trace back to a small handful of repeated issues, and they're avoidable with the right sequencing:
- Flashing installed in the wrong order (head flashing tucked under the barrier instead of over it, for example), which reverses the intended drainage path.
- Missing or improvised sill pans, especially on lower-budget builds where the detail gets value-engineered out.
- Fasteners skipped along the nailing fin to save time, leaving the window under-secured against wind load.
- Sealant applied to the wrong joint — sealing the bottom of the window fin to the wall, for instance, which blocks the drainage path the sill pan was designed to provide.
- Rough openings cut to the framing plan instead of the actual window's manufactured dimension, forcing an installer to over-shim or force-fit the unit.
Every one of these is a sequencing or attention problem, not a product problem — which is why the crew doing the install matters as much as the window brand you choose.
What Drives Cost on a New-Construction Window Job
| Factor | Why It Affects Price |
|---|---|
| Frame material and glass package | Fiberglass and triple-pane units cost more up front than standard vinyl double-pane |
| Number and size of openings | More openings and larger units mean more flashing, sealant, and labor hours |
| Elevation exposure | Walls facing prevailing wind and rain often get extra flashing detail or upgraded glass, adding modest cost for real long-term protection |
| Coordination with other trades | Tight scheduling with framing and siding crews reduces delays, but complex builds need more site visits |
| Access and site conditions | Sloped lots or tight staging areas can add time for material handling |
We won't quote a per-window number without seeing the plans and the site, but broadly, new-construction window packages on a typical home run from the low thousands into the tens of thousands depending on window count, frame material, and glass upgrades. We'll walk through the real trade-offs during the estimate rather than pushing you toward the highest-margin option.
A Practical Checklist Before Your Windows Go In
- Confirm rough openings have been checked against actual window dimensions, not just plan specs.
- Ask your installer what sill pan detail they use and why — a vague answer is a warning sign.
- Get the flashing sequence in writing or confirmed verbally before installation day.
- Request photos of flashing details before siding closes the wall — this protects you if a warranty question ever comes up.
- Verify the fastening schedule matches the manufacturer's requirements, since under-fastening can void warranty coverage.
- Confirm which frame material and glass package is actually being installed against what was quoted.
Why It Matters That We Already Work in Nooksack
A crew that installs windows across a range of climates has to relearn the local failure modes every time they land in a new region. A crew that already works Birch Bay, Nooksack, and the rest of Whatcom County has already seen what this specific combination of salt-influenced air, sustained winter rain, and long moss season does to a wall assembly over five, ten, fifteen years. That experience shows up in small decisions — where we add an extra flashing lap, which elevations we flag for upgraded glass, how we talk a builder out of a shortcut that looks fine on installation day but fails in year three.
We also know the practical side of building here: how local framing crews typically size rough openings, which siding profiles are common on new Whatcom County builds, and how to sequence our work so we're not the trade holding up your schedule.
Get a Straight Answer Before You Frame the Next Wall
If you're framing a new home or addition in Nooksack and want your window openings, flashing plan, and product selection reviewed before the walls close in, we're glad to walk the site with you or your builder. Reach out for a free, no-pressure estimate — there's no cost to get a second set of eyes on the plan while there's still time to adjust it.