 Birch Bay
 Building new in Marietta puts a home right in the path of Semiahmoo Bay's weather — salt-laden air off the water, wind-driven rain that comes in sideways more often than straight down, and a wet season long enough that moss finds a foothold almost anywhere moisture sits still. Windows installed during new construction only get one real chance to be done right: once the siding and trim close up around them, the flashing and sealant details underneath are hidden for the life of the house. We install new-construction windows for builders and homeowners around Birch Bay and Marietta with that in mind — not just setting a window plumb and square, but building a water management system around it that matches what this stretch of Whatcom County actually throws at a house.
What Marietta's Climate Demands from a Window Installation
Marietta sits close enough to the water that salt air is a daily fact of life, not an occasional event. Combined with Whatcom County's long wet season and the moss growth that comes with sustained shade and moisture, a new-construction window here needs three things a window in a drier inland climate can get away without:
- Corrosion-resistant hardware and fasteners — salt air accelerates corrosion on standard steel screws, hinges, and cladding fasteners over the years, so the install needs to use fasteners and flashing metals rated for coastal exposure.
- A flashing system built for driving, wind-blown rain — not just rain falling straight down, but rain pushed sideways and upward under trim and siding laps during a storm off the water.
- Materials and details that don't trap moisture — any assembly that holds water against wood trim or sheathing becomes a moss and rot problem within a few wet seasons in this climate.
None of this shows up on a spec sheet. It shows up in how the window opening is flashed, how the window ties into the weather-resistive barrier, and how the trim around it is detailed to shed water instead of collecting it.
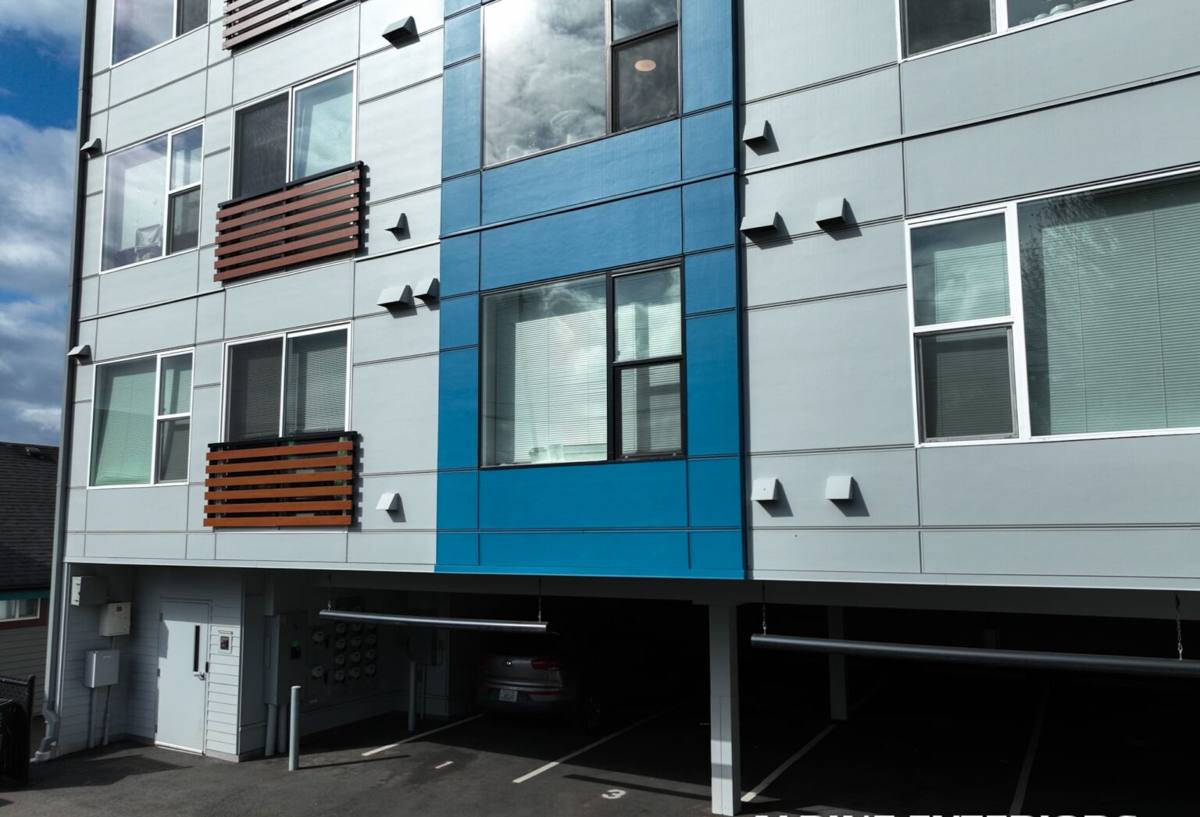
New-Construction Windows vs. Replacement Windows
New-construction windows have a nailing flange (or "nail fin") built into the frame, which gets fastened directly to the sheathing before the weather-resistive barrier and siding go on. That's different from a replacement window, which is designed to be inserted into an existing, already-flashed opening without disturbing the surrounding wall. Because a new build gives us access to bare sheathing, we get to build the entire water management system from scratch — sill pan, flashing tape, head flashing, and integration with the house wrap — rather than working around what's already there.
That's an advantage, but it also means there's no room for shortcuts. On a replacement window, a mediocre install might still perform reasonably well because the original wall assembly is doing some of the work. On new construction, the window opening is only as good as the flashing sequence we build into it — there's no fallback layer behind it.
What a Correct New-Construction Window Install Involves
The Flashing Sequence
Water management around a new-construction window follows a specific order, and skipping or reversing a step is one of the most common causes of hidden moisture damage in coastal homes:
- Sill pan flashing installed first, sloped to drain any water that gets past the window back to the exterior rather than into the wall cavity.
- Window set into the opening, shimmed level and plumb, and fastened through the nailing flange.
- Jamb flashing applied over the side flanges.
- Head flashing installed last, lapped over the weather-resistive barrier above so water is directed out and away, never behind the barrier.
- Sealant applied at the specific points the manufacturer's instructions call for — and left open where it shouldn't be, since sealing every joint on a window can actually trap water that needs a way out.
Energy Code and Glass Package
Washington's energy code sets minimum performance requirements for window U-factor and solar heat gain, and those requirements have gotten stricter in recent code cycles. For a Whatcom County build, we help select a glass package — typically dual-pane with a low-E coating and argon fill — that meets code and makes sense for the exposure of each elevation. A window facing the prevailing wind and rain off the water often benefits from a different frame and glass spec than one on a sheltered wall, and we account for that during planning rather than treating every opening on the house the same.
Frame Material Comparison
| Material | Coastal/Salt-Air Performance | Maintenance | Typical Fit |
|---|---|---|---|
| Vinyl | Good — won't corrode or rot, handles moisture well | Low; occasional cleaning | Most Marietta new builds; strong value for the exposure |
| Fiberglass | Very good — dimensionally stable, resists warping in wet/dry cycling | Low | Larger openings, higher-end builds wanting a slimmer frame profile |
| Wood-clad | Requires careful detailing — the clad exterior handles weather, but any gap in the cladding exposes wood to moisture | Higher; exterior clad needs inspection over time | Homes prioritizing an interior wood look, where the trade-off is understood upfront |
| Aluminum | Prone to corrosion in salt air unless specifically coated/rated for coastal use | Moderate to high | Generally not our first recommendation this close to the water |
We're not trying to steer every homeowner toward one material — the right choice depends on budget, the home's design, and how much long-term maintenance a homeowner wants to take on. Our job is to be honest about which materials hold up with less fuss in this specific climate and let that inform the decision, not make it for you.
Our Process on a Marietta New-Construction Job
1. Plan Review and Take-Off
We review the window schedule against the framing plans and elevations, checking rough opening sizes, header heights, and which walls face the prevailing weather so we can flag any exposure that deserves extra attention before the windows even arrive.
2. Coordination with the Builder's Schedule
Window install has to happen at the right point in the build sequence — after sheathing and weather-resistive barrier prep, before siding closes things up. We coordinate directly with the general contractor or builder so windows go in on schedule without holding up trades behind us.
3. Install and Flashing
Each opening gets the full sill pan, jamb, and head flashing sequence, with fasteners and flashing tape suited to coastal exposure. We check every unit for level, plumb, and square, and confirm operable windows open and lock smoothly before moving on.
4. Water Test and Walkthrough
On exposed elevations especially, we check the finished flashing details before siding covers them — this is the last point anyone will ever see that work again, so it's worth getting right the first time. We walk the finished install with the builder or homeowner before we consider the job done.
Why a Crew That Already Works Marietta Matters
A window installer who mostly works inland doesn't necessarily think about salt-air fastener corrosion or wind-driven rain the same way a crew that works Birch Bay and Marietta year-round does. We've seen how this specific stretch of coastline behaves through a full wet season, which informs decisions that don't show up in a generic install spec — things like which flashing tape actually stays adhered through repeated wet-dry cycling here, or where moss tends to establish itself on trim and how to detail around that. Familiarity with local building department expectations and typical framing practices in this area also means fewer surprises and delays during inspection.
Checklist: What to Confirm on Your New-Construction Window Install
- Sill pan flashing installed and sloped to drain outward, before the window ever goes in
- Head flashing lapped correctly over the weather-resistive barrier, not tucked behind it
- Fasteners and flashing components rated for coastal/salt-air exposure
- Glass package and frame U-factor confirmed against current Washington energy code
- Sealant applied only where the manufacturer specifies, with weep paths left clear
- Every operable window checked for smooth function and a tight, even seal at lock-up
- Flashing details reviewed before siding closes up the wall — your last chance to see them
Maintenance That Protects the Investment
Even a correctly installed window benefits from basic upkeep in this climate. Rinsing salt residue off frames and glass periodically, keeping gutters and trim clear of debris where moss and algae like to start, and doing a quick visual check of exterior sealant joints each year go a long way toward protecting the flashing work underneath. None of this is complicated, but it matters more here than it would forty miles inland.
If you're planning new construction in Marietta or elsewhere around Birch Bay, we're happy to walk your plans, talk through window and material options for your home's exposure, and give you a straightforward, no-pressure estimate. Use the form below to get started.