 Birch Bay
 Building New in Custer? The Window Install Is Where Problems Start — or Never Happen
If you're framing a new home in Custer, the windows are one of the few components that get exactly one chance to be installed correctly. Once siding, trim, and interior finishes go on, the flashing and sealing work behind the window flange is buried. In a stretch of Whatcom County that sits close to the Strait of Georgia and Birch Bay, with salt-laden air, long stretches of driving rain, and a moss season that can run most of the year, a marginal install doesn't fail in year one. It fails in year five or six, quietly, behind drywall you'll have to cut open to find it.
New-construction window installation is a different job than replacing an old window in an existing wall. It's tied directly into the weather-resistant barrier, the rough opening framing, and the sequence of trades on site. Getting it right the first time is far cheaper than fixing it later — and it's the part of a build where hiring a crew that understands local conditions actually shows up in the outcome.
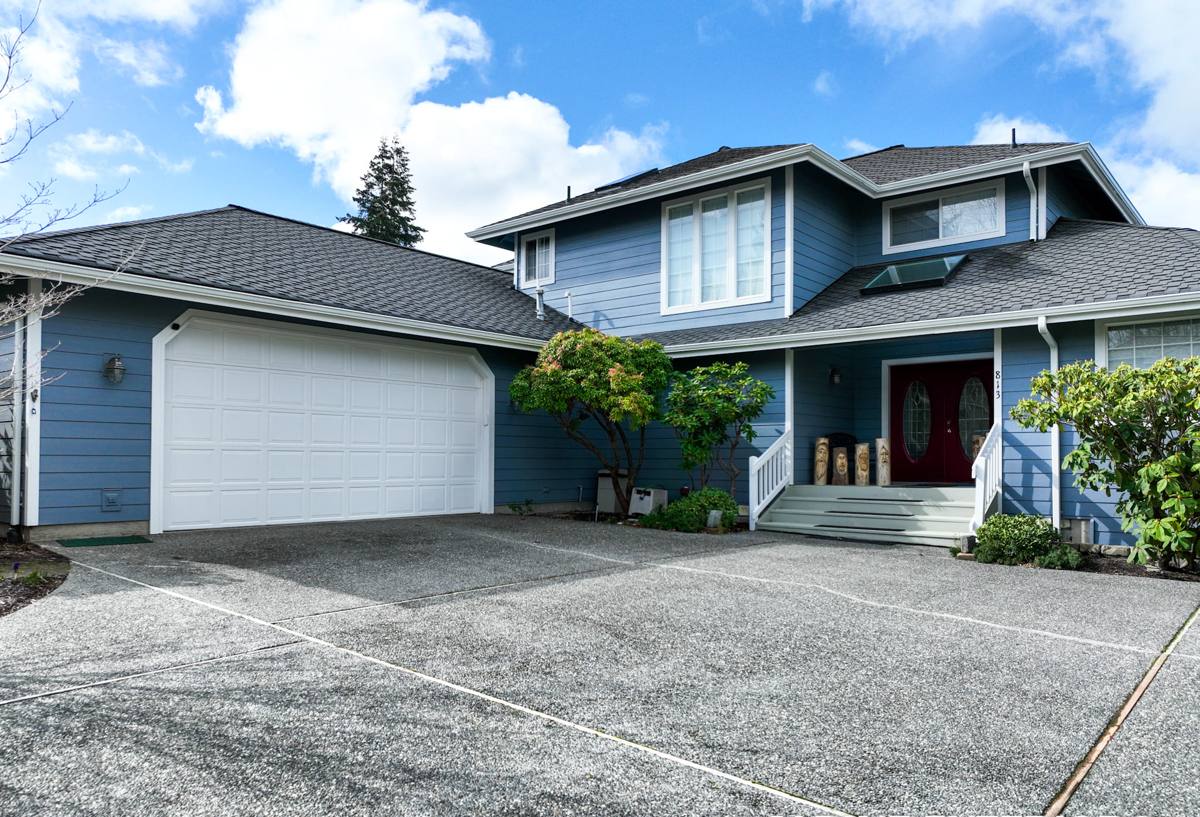
What Custer's Climate Actually Demands From a Window Install
Custer sits inland just enough from the water to avoid the worst of direct salt spray, but the marine air off Birch Bay and the Strait still carries salt content that accelerates corrosion on unprotected hardware, fasteners, and cheap window components. Combine that with Whatcom County's wet season — months of low-pressure systems pushing driving, wind-angled rain against west and south-facing walls — and you have two separate problems a window install has to solve at once: keeping bulk water out, and keeping the materials that do the keeping from breaking down.
Moss and algae are the third factor, and they're often underestimated. Persistent shade, moisture, and mild temperatures mean any spot where water sits — a poorly sloped sill, a sealant joint that traps moisture instead of shedding it — becomes a growth site. That's not just cosmetic. Moss holds moisture against wood trim and can work into gaps in caulking, widening them over time.
- Wind-driven rain requires a flashing sequence that sheds water by gravity and lapping, not sealant alone
- Salt air favors corrosion-resistant fasteners and hardware over standard-grade components
- Persistent moisture favors sills and trim details that shed water fast and dry out between rain events
- Long gray-sky stretches make glass selection (light transmittance vs. solar heat gain) a real comfort factor, not just an energy-code checkbox
New-Construction Windows vs. Replacement Windows: Why the Difference Matters
These two jobs are often lumped together, but they solve different problems. A replacement window goes into an opening that already has siding and trim around it — the install has to work with what's there. A new-construction window, by contrast, has a nailing flange that gets integrated directly into the weather-resistant barrier before siding ever goes on. That gives a much more reliable moisture path, but only if the sequencing is done correctly.
| Factor | New-Construction Window | Replacement Window |
|---|---|---|
| Installation method | Nailing flange integrated with house wrap and flashing tape | Insert-fit into existing frame or pocket |
| Moisture control | Built into flashing sequence before siding installs | Depends on sealant and existing wall condition |
| Best suited for | New builds, additions, full wall reframes | Existing homes where the wall isn't being opened up |
| Long-term risk if done wrong | Hidden water intrusion behind siding, rot in framing | Air/water leaks around the insert, usually more visible sooner |
Because Custer builds are typically ground-up construction or additions, the flange-and-flashing method is almost always what's called for. The trade-off is that it demands tighter coordination with the framer and the siding crew — the window install can't be treated as an isolated task.
What a Correct Install Actually Involves
Flashing Sequence
Water has to be directed out and down at every layer: sill pan flashing first, side flashing lapped over the sill, and head flashing lapped over the sides — always shingled so each layer sheds onto the one below it, never the reverse. In a climate with sustained wind-driven rain, a sill pan isn't optional. It's the backstop that catches any water that gets past the primary seal and routes it back outside instead of into the framing.
Weather-Resistant Barrier Integration
The window flange has to be taped or integrated into the house wrap in the correct order — WRB behind the head flange, over the side and sill flange — so the whole wall assembly drains as one system. This is the step that gets rushed on tight schedules, and it's also the step most responsible for long-term performance in wet climates.
Shimming, Leveling, and Fastening
A window that's out of square or unevenly shimmed puts stress on the frame, which shows up later as operating windows that stick or don't seal tight. Fasteners should be corrosion-resistant given the salt content in the local air — standard zinc-coated screws can start showing rust bleed at the trim within a few years in this environment.
Sealant Selection and Placement
Not every gap should be sealed solid. Certain joints need to stay open as drainage paths (the sill, in particular) while others need a continuous air seal. Sealing the wrong joint traps moisture instead of releasing it — a direct contributor to the rot and mildew issues that show up in coastal Washington construction a few years after the fact.
Choosing Frame Materials and Glass for This Area
Vinyl, fiberglass, and wood-clad frames are all viable options, and the right call depends on budget, the home's design, and how much upkeep you want to take on. In a salt-air, high-moisture climate, we steer clients away from anything that depends on painted wood exposed directly to weather without cladding — it's simply more maintenance than most homeowners want to sign up for, and the failure mode (paint breakdown, then moisture intake) is predictable. Vinyl and fiberglass both handle Custer's conditions well with minimal upkeep; fiberglass costs more but holds dimensional stability better across temperature swings.
On glass, double-pane with a Low-E coating and argon fill is the practical standard for this region. Given how much of the year is overcast, a Low-E package tuned for balanced light transmittance (rather than one optimized purely for hot-climate solar heat rejection) keeps interiors bright without sacrificing winter heat retention. Triple-pane is worth discussing for north-facing rooms or homes prioritizing sound control, but it's a cost/benefit conversation, not an automatic upgrade.
Our Process on a Custer Build
We coordinate directly with your builder or framer rather than showing up as a disconnected trade. The sequence generally runs:
- Rough opening review — confirming dimensions, square, and structural framing are correct before any window arrives on site
- Sill pan flashing installed and tested before the window ever sets
- Window set, shimmed level and plumb, fastened with corrosion-resistant hardware
- Side and head flashing installed in proper shingled sequence, integrated with the WRB
- Interior and exterior sealant applied only at the joints designed to be sealed, leaving drainage paths open
- Final walkthrough confirming operation, seal, and flashing before siding crews close up the wall
We document flashing and WRB integration with photos before it's covered — a step that matters if a warranty question comes up years down the road and nobody can see behind the siding anymore.
What to Verify With Any Window Contractor Before You Break Ground
- Do they install sill pan flashing on every window, not just on request?
- Can they explain their WRB integration sequence in plain terms — head, side, sill order?
- Do they use corrosion-resistant fasteners as standard practice in coastal-adjacent installs?
- Will they coordinate directly with your framer and siding crew, or install in isolation?
- Do they document the flashing work with photos before it's covered by siding?
- Are they familiar with wind-driven rain patterns specific to Whatcom County, not just generic install guides?
Why Local Experience in Custer and Birch Bay Actually Matters
A window install crew that's worked this stretch of Whatcom County has already seen which wall orientations take the worst of the wind-driven rain, how fast moss establishes on north-facing trim, and which fastener and sealant products actually hold up against the salt content in the air here versus inland. That's not something you get from a manufacturer's install manual — it's what you learn from doing the work, in this climate, repeatedly. It shows up in small decisions: extra attention to west-facing flashing laps, upsized drip caps on exposed elevations, sealant choices that won't harden and crack in a damp winter.
What Affects Cost
| Factor | Why It Matters |
|---|---|
| Frame material (vinyl vs. fiberglass vs. clad-wood) | Fiberglass and clad-wood cost more upfront but differ in maintenance and lifespan |
| Glass package (double vs. triple-pane, Low-E tuning) | Affects comfort, energy performance, and upfront cost |
| Number and size of openings | Larger and more numerous windows increase both material and labor cost |
| Wall orientation and exposure | West/south-facing walls exposed to driving rain may warrant extra flashing detail |
| Coordination complexity | Tight build schedules with multiple trades require more scheduling precision |
Every build is different, and we'd rather walk your specific plans than throw out a number that doesn't reflect your actual window count, sizes, and elevations.
If you're planning a new build or addition in Custer and want windows installed the way this climate actually requires, we're glad to walk the plans with you and put together a straightforward estimate — no pressure, no upsell. Use the form below to get started.