 Birch Bay
 New-Construction Windows: A Different Job Than Replacement
When people hear "new windows," they often picture a crew popping out an old sash and dropping in a new one. That's a retrofit or pocket replacement, and it has its place. New-construction windows are a different animal entirely. They have a nailing fin around the perimeter that gets integrated directly into the wall's weather-resistive barrier before the siding goes on. That means the window becomes part of the building's water management system, not just a unit sitting inside an existing opening.
For a new build, an addition, or a full re-side down to the sheathing in Cherry Point, this is almost always the right approach. It's also the only approach that lets us build in proper flashing from scratch, which matters a great deal given what this stretch of Whatcom County throws at a house.
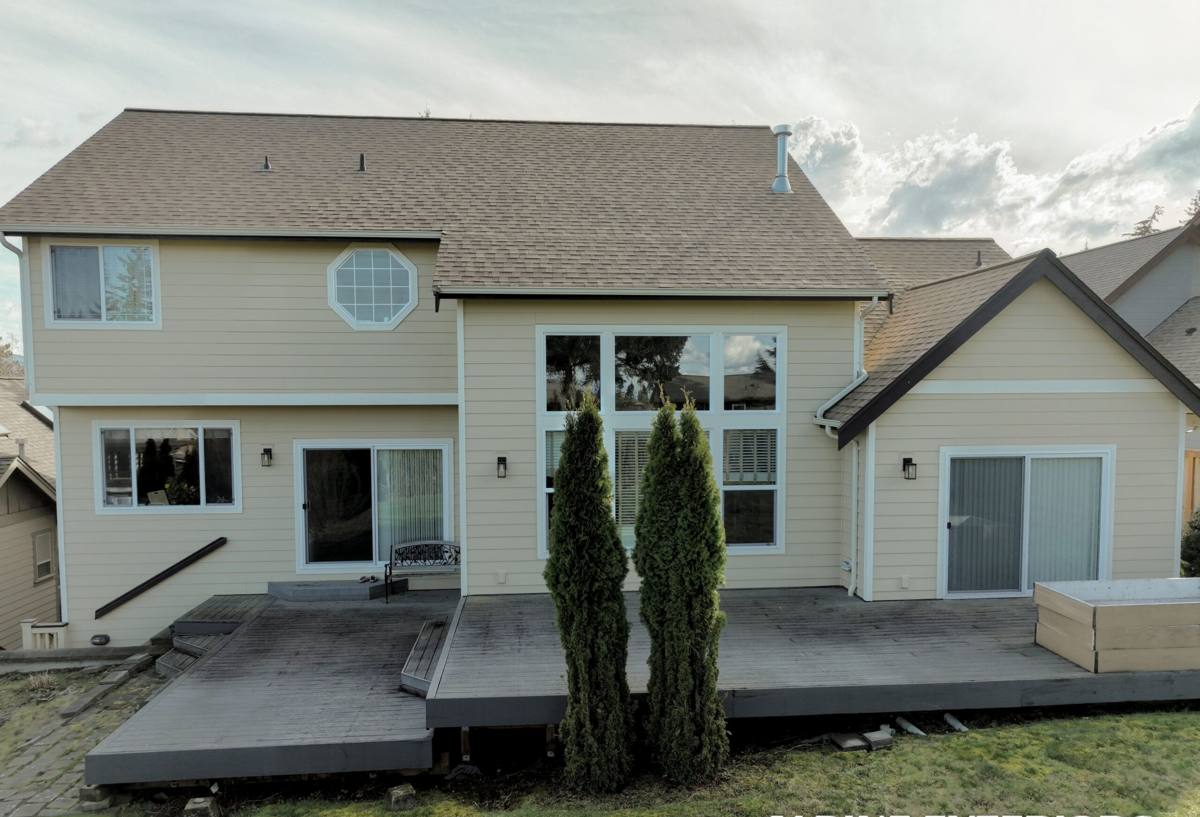
What Cherry Point's Climate Actually Demands
Cherry Point sits right on the water, and that changes the math on window installation. Three things stand out here:
- Salt air — corrodes unprotected fasteners, cheap cladding, and exposed hardware faster than it would a few miles inland.
- Driving rain — wind off the water pushes rain sideways into wall assemblies, which means gravity-only drainage details aren't good enough. Flashing has to be sequenced so water sheds outward at every layer, not just downward.
- A long moss season — Whatcom County's wet stretch runs long, and anything that traps moisture against wood trim or sheathing (poor flashing laps, caulk used as a substitute for flashing, missing sill pans) becomes a growth surface and eventually a rot problem.
None of this means Cherry Point needs exotic materials. It means ordinary materials installed with real attention to sequence and detailing, because this is not a climate that forgives shortcuts.
Wind and Exposure
Homes closer to open water or on elevated, less sheltered lots take a harder hit from wind-driven rain than homes tucked behind tree lines or bluffs. We look at a home's actual exposure, not just its zip code, when deciding how much belt-and-suspenders flashing detail is worth adding at sills and heads.
Choosing a Window That Holds Up Here
Material choice matters as much as installation. Here's how the common options compare for a saltwater-adjacent, high-moisture site like Cherry Point:
| Frame Material | Salt Air Durability | Maintenance | Notes |
|---|---|---|---|
| Vinyl | Good — won't corrode | Low | Budget-friendly; quality varies a lot between manufacturers, so we stick with lines that hold their seals and don't warp in temperature swings. |
| Fiberglass | Very good | Low | Dimensionally stable, holds paint well if a custom color is wanted, generally our default recommendation for this area. |
| Aluminum-clad wood | Good on the exterior face | Moderate | Attractive, but any breach in the cladding exposes wood to a wet climate — we're selective about where we'll put these. |
| Bare wood | Poor without diligent upkeep | High | We generally steer new-construction clients away from bare exterior wood on this stretch of coast — the maintenance burden in a long wet season is real, not a knock on the material itself. |
Hardware matters too. Look for stainless steel or otherwise corrosion-resistant fasteners and hinge hardware — standard zinc-plated hardware can start showing surface rust within a season or two this close to salt water.
The Flashing Sequence That Keeps Water Out
This is where most of the actual performance of a new-construction window gets decided, long before anyone sees the finished siding. The order matters:
- Sill pan flashing first. A sloped, sealed pan under the rough opening gives any water that gets past the window a path back outside instead of into the framing.
- Weather-resistive barrier integration. The house wrap or building paper has to lap correctly with the window's nailing fin — over the fin at the top, under it at the sides and bottom — so water is always directed downward and outward, never trapped behind a layer.
- Window set square, level, and plumb, shimmed at the correct points so the frame isn't stressed and the sash operates properly for the life of the window.
- Fastening per manufacturer spec, not "close enough" — under- or over-driven fasteners are one of the most common causes of frame distortion and early seal failure.
- Head flashing with an end dam or drip cap, sized so it actually kicks water past the siding below rather than letting it run down the face.
- Sealant used as backup, not primary defense. Caulk fails eventually. A window relying on caulk alone to stay dry is a window that will leak on its own schedule, not yours.
Every one of these steps is invisible once the siding is on. That's exactly why it has to be done right the first time — nobody is opening the wall back up in five years to check.
How We Approach the Job
Our process on a Cherry Point new-construction window job generally runs like this:
- Walk the site and review the rough openings against the window schedule before anything is installed — catching a sizing or orientation issue on paper is far cheaper than after the fact.
- Confirm the weather-resistive barrier is in place and in good condition before window set begins.
- Install sill pans and flash each opening in the sequence above, checked window by window rather than assuming one detail fits every elevation.
- Set, shim, and fasten each window to spec, then check operation (open, close, lock) before moving on.
- Photograph flashing details before they're covered by siding, so there's a record of what's behind the finished wall.
- Final walkthrough with the homeowner or builder once siding and trim are complete.
Mistakes We Commonly Catch on New Builds
Even on new construction, we regularly find details worth correcting before they get buried behind siding:
- House wrap taped over the nailing fin instead of lapped under it at the sides — reverses the intended drainage path.
- Missing or flat (non-sloped) sill pans, which give water nowhere to go but into the wall.
- Fasteners driven at an angle or overdriven, deforming the frame and putting stress on the seals.
- Caulk applied generously as a stand-in for proper flashing — it looks finished, but it's not a substitute for the layered approach above.
- Head flashing omitted on elevations facing the water, where wind-driven rain hits hardest.
None of these show up on move-in day. They show up two, five, or ten winters later, usually as a stained wall or soft trim — right when Whatcom County's wet season is in full swing.
Cost Factors on a New-Construction Window Job
Pricing depends on more than the window unit itself. The main variables we walk through with clients:
| Factor | Why It Matters |
|---|---|
| Window size and count | Larger openings and higher counts increase both material and labor time. |
| Frame material | Vinyl generally costs less upfront than fiberglass or clad-wood; long-term maintenance cost should factor in too. |
| Elevation exposure | Water-facing walls may warrant additional flashing detail or upgraded sealants, adding modest labor time. |
| Site access | Multi-story openings or tight lots can add scaffolding or lift time. |
| Performance rating | Higher-performance glass packages (lower U-factor, tuned solar heat gain) cost more per unit but reduce long-term energy loss. |
We give straightforward, itemized estimates rather than a single lump number, so it's clear what's driving the price on your specific build.
Living With New Windows in a Coastal, Wet Climate
A correctly installed new-construction window needs relatively little from a homeowner, but a few habits extend its life:
- Rinse salt residue off exterior frames and hardware periodically, especially on water-facing elevations.
- Keep gutters and downspouts clear so roof runoff isn't dumping extra water onto window heads below.
- Check and refresh exterior sealant joints (not the flashing itself) every few years as part of general exterior upkeep.
- Watch for moss or algae buildup on sills and trim during the wet months and clean it off before it holds moisture against the frame.
- Test operation of locks and hardware seasonally — salt air can stiffen mechanisms that go unused.
Why a Crew That Already Works Cherry Point Matters
Window flashing details that work fine in a dry inland climate can fall short right on the water. A crew that already installs windows on this stretch of Birch Bay knows to plan for wind-driven rain on exposed elevations, to use corrosion-resistant fasteners as a default rather than an upgrade, and to never treat caulk as a substitute for a sloped sill pan. That's not something you can fully verify from a bid sheet — it comes from having done the work in this exact environment and having seen, on service calls years later, what holds up and what doesn't.
If you're planning new construction, an addition, or a re-side in Cherry Point and want windows installed the way this climate actually requires, we're happy to take a look at your plans or your site and put together a straightforward, no-pressure estimate using the form below.