 Birch Bay
 Windows Built for the Terrell Creek Side of Birch Bay
Homes along the Terrell Creek corridor sit a little differently than the houses right on the Birch Bay waterfront. There's more tree cover, more shade, and more standing moisture working its way through the yard and up against the house for a good chunk of the year. Add in the salt-laden air that rolls off Birch Bay itself and the driving rain that Whatcom County sees from fall through spring, and you've got a set of conditions that's genuinely tough on window assemblies — sashes, frames, sills, and the flashing and sealant details around them.
A window that's installed correctly for this environment will outlast one that isn't by a decade or more. A window that's installed poorly — even a good, expensive window — will start showing problems within a couple of winters. This page is about what "correctly" actually means for a Terrell Creek home, and why the installation matters as much as the product itself.
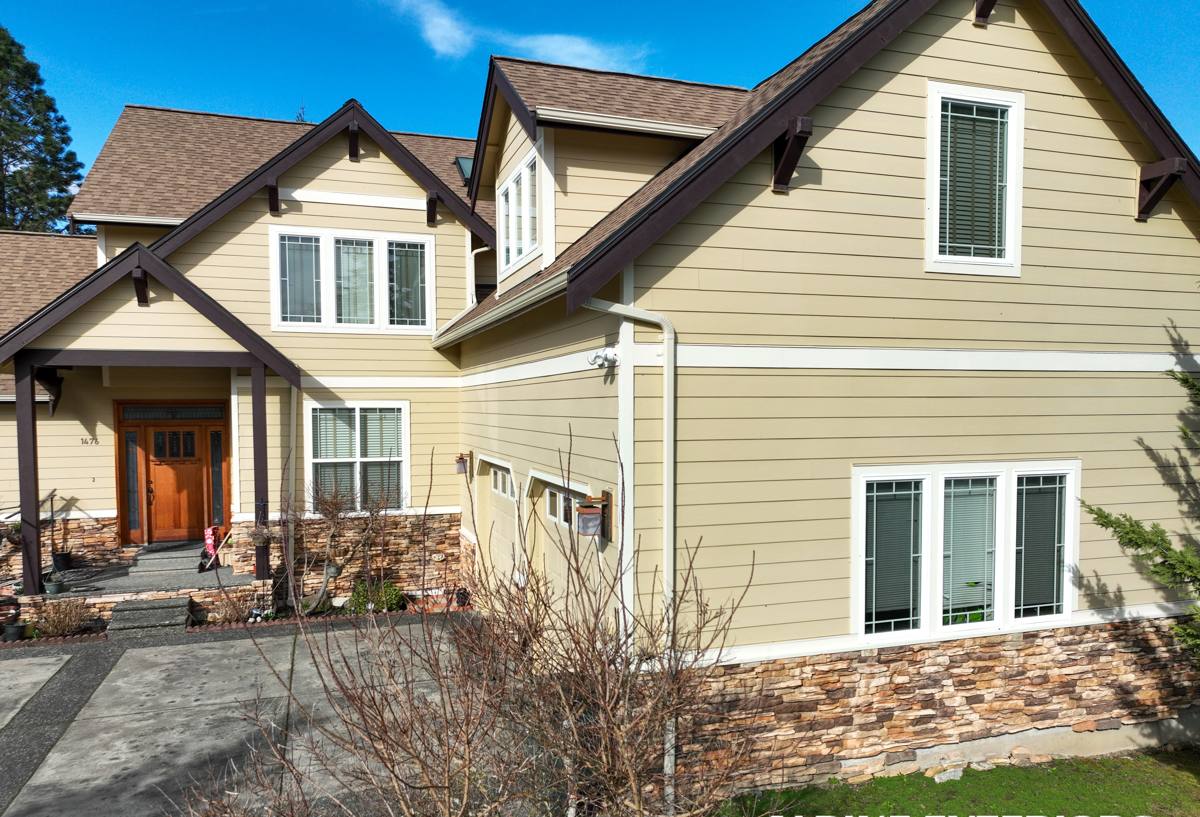
What the Terrell Creek Microclimate Does to Windows
The creek corridor and the surrounding tree canopy hold humidity close to the house longer than open, wind-exposed lots do. That moisture doesn't just sit in the air — it settles on glass, collects on sills, and works into any gap in the caulking or flashing that a rushed installer left behind. Combine that with Birch Bay's coastal exposure and you get two separate stresses acting on the same window at the same time: damp, shaded rot conditions from the creek side, and salt-air corrosion from the bay side.
The long moss season
Moss doesn't just grow on roofs here. Given a shaded, damp sill or a north-facing frame that never fully dries out, moss and algae will take hold on window trim and exterior casing too. Once it does, it holds moisture against the wood or composite even longer, which speeds up rot and finish failure. A well-installed window sheds water away from these surfaces instead of letting it pool.
Driving rain and wind-driven water
Whatcom County storms don't always come straight down. Wind off the bay pushes rain sideways and up under trim, which means a window's weakest point usually isn't the glass — it's the flashing and the joint where the window meets the siding. That's where nearly every leak we get called out to trace actually starts.
Signs a Terrell Creek Home's Windows Are Losing the Fight
Most window failures don't show up as a dramatic leak. They show up gradually, and homeowners often assume it's normal wear rather than a sign the installation or the unit itself has failed.
- Fogging or a hazy film between the panes — a sign the seal on a double- or triple-pane unit has broken
- Soft or discolored wood at the sill or bottom corners of the frame
- Moss or dark green growth building up on the exterior trim or casing
- Drafts you can feel with a hand near the frame on a windy day, even with the window latched
- Windows that stick, won't stay open, or are hard to lock — usually a sign the frame has shifted or swollen
- Paint or finish bubbling and peeling on interior trim near the window, which points to moisture getting in from outside
Any one of these is worth a look. Several at once usually means the original installation — not just the window itself — is the root problem.
What a Correct Window Installation Actually Involves
The window unit is maybe half the job. The other half is everything around it: how the opening is prepared, how water is directed away from the frame, and how the whole assembly ties into the house's weather-resistive barrier. Skipping or rushing any of these steps is the single biggest reason windows fail early in this climate.
| Step | Done Correctly | Common Shortcut |
|---|---|---|
| Opening prep | Old caulk, rot, and debris fully removed; framing checked and repaired if soft | New window caulked over old, damaged material |
| Flashing | Sill pan flashing installed to direct water back outside, integrated with house wrap | Flashing skipped or just a bead of sealant relied on alone |
| Water barrier integration | Flashing tape and house wrap layered shingle-style so water sheds downward and out | House wrap cut and taped flat, creating a spot for water to collect |
| Shimming and leveling | Unit shimmed plumb, level, and square before fastening — prevents binding and gaps | Window fastened without checking square, leading to a hard-to-operate sash |
| Insulation and air seal | Low-expansion foam or backer rod fills the gap without bowing the frame | Gap left open or overfilled with foam that distorts the frame |
| Exterior trim and sealant | Sealant applied at the right joints only, leaving a weep path for any water that gets past it | Everything sealed solid, trapping moisture with nowhere to go |
That last point surprises a lot of homeowners: a correctly installed window is not sealed airtight on every side. It's built to shed the small amount of water that will eventually get past any exterior seal, rather than trap it against the framing.
Choosing a Window Material for This Climate
There's no single "best" window material — the right choice depends on the exposure of that particular wall, the home's style, and the budget. What matters most is picking a material honestly suited to a shaded, damp, salt-exposed lot rather than whatever's cheapest at the moment.
| Material | Strengths Here | Trade-offs |
|---|---|---|
| Vinyl | Won't rot, resists salt corrosion, good value, low maintenance | Can expand/contract with temperature swings if not installed with proper clearance |
| Fiberglass | Very stable in temperature and humidity swings, strong, paintable | Higher upfront cost than vinyl |
| Wood-clad | Classic look, good insulating properties | Cladding seams need careful sealing; interior wood still needs long-term upkeep |
| Aluminum | Strong, slim sightlines | Conducts cold and can corrode near salt air without a marine-grade finish |
For most Terrell Creek homes, vinyl or fiberglass ends up being the practical choice given the combination of shade-driven dampness and bay salt exposure — but we'll walk the specific walls of your house with you before recommending anything.
A note on glass packages
In this climate, the glass package matters as much as the frame material. A Low-E coating and argon or krypton gas fill both help cut down on the interior condensation that shows up on cold, damp mornings — which is common in shaded, tree-covered lots where the air stays humid longer into the day.
Our Process for a Terrell Creek Window Installation
- On-site assessment. We look at each opening individually — sun exposure, shade, proximity to the creek or tree line, and current condition of the framing and siding around it.
- Honest scope. If we find soft framing or failed flashing behind an existing window, we'll tell you before work starts, not after we've already opened things up and found a surprise.
- Removal and inspection. Old units come out carefully so we can check the sheathing and framing underneath for hidden rot or moisture damage.
- Repair as needed. Any damaged wood or compromised barrier material gets replaced before a new window goes in — never covered over.
- Correct flashing and sealing. Sill pan flashing, properly layered house wrap integration, and sealant only where it belongs.
- Fit and function check. Every window is checked for square, smooth operation, and a proper lock before we call it done.
- Cleanup and walkthrough. We walk the finished work with you and explain what was done and why.
Timing the Work Right
Window installation can technically happen year-round, but in Whatcom County the drier stretch from late spring through early fall gives us the best conditions for keeping an open wall dry during the swap. That said, we do plan around Birch Bay's weather rather than around a fixed calendar — a dry week in October is often better than a wet week in July. If a window has already failed and is letting water in, we don't wait for ideal weather to address it.
What to Ask Before You Hire Someone for This Work
Window installation is one of those jobs where a poor result can hide behind fresh trim and paint for a year or two before the real damage shows up. A few questions up front save a lot of trouble later.
- Will you inspect and repair the framing and sheathing if it's damaged, or just install over it?
- What flashing method do you use, and how does it tie into the existing house wrap or siding?
- Are you licensed and insured to do this work in Washington state?
- Do you warranty your installation labor separately from the manufacturer's product warranty?
- Have you worked on homes in this part of Whatcom County before, and do you understand the local exposure conditions?
- Will I get a written scope before work starts, including what happens if hidden damage is found?
Why Local Experience on Terrell Creek Matters
A crew that's worked this specific stretch of Birch Bay knows which walls tend to hold moisture longer because of tree shade, which sides take the brunt of wind-driven rain off the bay, and how moss and algae behave on window trim here compared to a drier inland lot. That knowledge shapes real decisions — where extra flashing attention matters most, which material trade-offs are worth it on a given wall, and what a reasonable maintenance schedule looks like for this exact climate. It's the difference between a generic installation and one that's actually built for the house it's going into.
If your windows are showing their age, feeling drafty, or you're planning ahead for a remodel, we're happy to take a look and give you a straight, no-pressure estimate for your Terrell Creek home. There's no obligation — just an honest read on what your windows need and what it would take to get them right.