 Birch Bay
 Building New in Point Whitehorn: What the Coast Demands from Windows
Point Whitehorn sits close enough to the water that every window on a new build is doing double duty: letting in light and view, while standing up to conditions that inland Whatcom County homes rarely see. Salt-laden air corrodes unprotected metal faster than most people expect. Driving rain off the Strait pushes water sideways into gaps that would stay dry in a calmer climate. And the long, damp moss season here keeps trim, sills, and cladding wet for weeks at a stretch, which is exactly the environment moss and algae need to take hold. None of this makes new-construction windows harder to install correctly — it just means there's less room for shortcuts.
When we install windows on a new build or an addition in Point Whitehorn, we're not just setting a unit into a rough opening. We're building a water-management system into the wall assembly, choosing materials that won't corrode or chalk out in a few short years, and thinking about how the whole house will shed wind-driven rain for the next few decades. That's a different job than swapping an old window for a new one in an existing wall, and it should be treated differently.
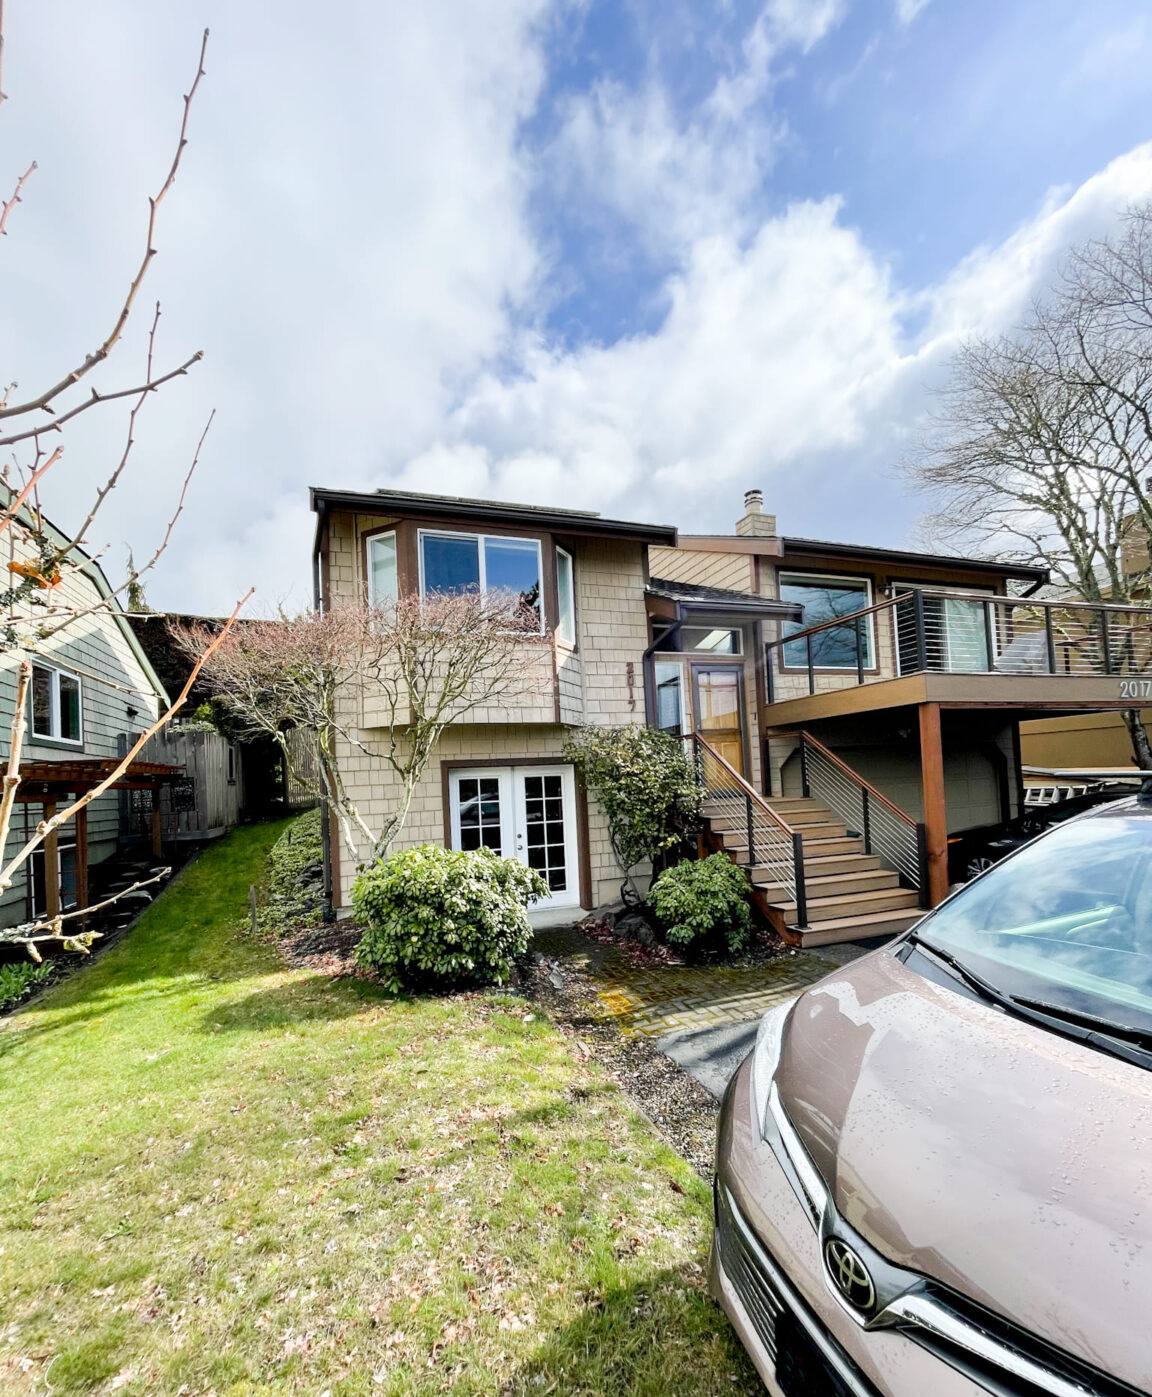
New-Construction vs. Replacement: Why the Installation Method Matters
New-construction windows have a nailing flange (or "nail fin") around the perimeter of the frame that gets fastened directly to the wall sheathing before siding goes on. This is the method used any time the wall is open — new homes, additions, or gut renovations down to the studs. It's the strongest, most weathertight way to install a window, because the flashing and water-resistive barrier (WRB) can be layered over the flange in the correct shingle-lap sequence, with no gaps hidden behind finished siding.
Replacement (or "retrofit" and "flush fin") windows are a different product entirely, designed to slide into an existing opening without disturbing the surrounding siding. They have their place, but they rely on sealant and existing flashing rather than a fully integrated flange, which is a compromise you don't need to make on new construction. If you're building new in Point Whitehorn, insist on true new-construction units installed with proper flange flashing — it's a stronger long-term barrier against wind-driven rain than any retrofit method can match.
Choosing Frame Materials for Salt Air and Driving Rain
Frame material affects how a window holds up to coastal exposure more than almost any other decision you'll make. Bare or poorly coated aluminum is the material most vulnerable to salt-air corrosion and is not something we recommend for homes this close to the water unless it's a factory-clad, marine-rated product with a real warranty behind the finish. Vinyl and fiberglass both avoid that corrosion risk entirely, but they perform differently in other ways worth understanding before you order a full house package.
| Frame Material | Salt-Air / Corrosion Resistance | Maintenance | Relative Cost |
|---|---|---|---|
| Vinyl | Excellent — no metal to corrode | Low; occasional wash-down | Lower |
| Fiberglass | Excellent; dimensionally stable in temperature swings | Low; holds paint well if a custom color is wanted | Higher |
| Aluminum-clad wood | Good on the exterior face if properly sealed; interior wood needs protection from moisture | Moderate to higher; watch cladding seams over time | Highest |
| Bare/mill-finish aluminum | Poor near saltwater without a marine-grade finish | High; finish degrades faster in this exposure | Lower |
Hardware matters too. Look for stainless steel or corrosion-resistant coated fasteners, hinges, and locks — standard zinc-plated hardware is one of the first things to show pitting and rust streaks on a coastal Whatcom County home, usually within a few years rather than a few decades.
Glazing and Performance: What Actually Matters in a Marine Climate
Whatcom County falls into a marine climate zone under the Washington State Energy Code, which sets minimum U-factor and other performance requirements for new-construction glazing. Beyond meeting code, a few glazing choices are worth understanding on their own merits for this specific area:
- U-factor measures how well the window resists heat loss — lower is better for our mild but persistently damp, overcast winters.
- Solar Heat Gain Coefficient (SHGC) matters more on south- and west-facing glass; too high and rooms can overheat on the sunnier summer days, too low and you lose free winter warmth.
- Condensation resistance is worth asking about directly — the combination of humid outdoor air and warm indoor air in winter is exactly the setup that causes interior condensation and, eventually, sill rot if a window's insulating value is marginal.
- Double vs. triple glazing is a real trade-off here: triple pane improves comfort and condensation resistance but adds weight and cost, and on a marine-climate home, double pane with a good low-E coating is often the more balanced choice unless you're targeting a very high-performance build.
We check NFRC labels against your specific elevations and orientations rather than specifying one glazing package for the whole house — a window on an exposed west wall facing the water has different needs than one tucked on a sheltered side.
Our New-Construction Window Installation Process
The process starts before any window arrives on site. We review the plans, verify rough opening sizes against the ordered units, and walk the framing with the builder or general contractor to catch sizing or sequencing issues while they're still cheap to fix. From there, our installation follows the same disciplined sequence on every job:
- Verify rough openings are square, plumb, and correctly sized before any window is set.
- Install a sloped sill pan at the base of the opening so any water that gets past the window has a path back outside instead of into the wall.
- Set the window, level and shim it, and fasten through the nailing flange per the manufacturer's schedule.
- Integrate flashing tape and the house wrap in proper shingle-lap order — bottom, sides, then top — so water always sheds over the layer below it, never behind it.
- Install head flashing, and kick-out flashing at any roof-to-wall intersections above a window, to direct water away from the head and jambs.
- Insulate the gap between the frame and rough opening with a low-expansion foam or backer rod, avoiding high-pressure foam that can bow vinyl frames.
- Complete interior and exterior trim, then test operation and check for square and smooth function before moving on.
Every step in that sequence exists because we've seen what happens when one is skipped — usually years later, when a homeowner finds staining or soft wood around a window that looked fine on move-in day.
Flashing and Water Management: The Part No One Sees
Once siding goes up, the flashing work is invisible — and that's exactly why it has to be right the first time. On a home exposed to driving rain off the water, the flashing details around each window matter as much as the window itself. Use this as a general checklist for what should happen at every opening, whether you're watching the work yourself or just want to know what to ask your contractor:
- Sloped sill pan installed before the window, with a back dam to stop water from running toward the interior
- Flashing tape applied in correct shingle-lap order (sill, then jambs, then head)
- Head flashing installed with a drip edge that projects past the face of the trim
- Kick-out flashing at any point where a roofline meets a wall above or beside a window
- WRB (house wrap) properly lapped over the top flange and taped, never tucked under it
- All penetrating fasteners sealed or covered per the manufacturer's installation instructions
- Exterior sealant used only where specified — sealant is a backup layer, not a substitute for correct flashing sequence
This is also where moss season becomes relevant. Trim and sill details that hold moisture longer than they should give moss and algae a foothold, and once established, that growth holds even more moisture against the wood or trim below it. Correct flashing and slight slope on horizontal surfaces are the real defense — pressure washing after the fact is maintenance, not a fix.
Cost Factors for New-Construction Window Packages
Pricing a whole-house window package depends on more than the number of openings. The factors below are the ones that typically move the number most on a Point Whitehorn build:
| Factor | Why It Affects Cost |
|---|---|
| Frame material | Vinyl is generally the most economical; fiberglass and clad-wood cost more but may suit certain exposures or design goals |
| Glazing package | Triple pane, upgraded low-E coatings, and tempered/safety glass at required locations add cost per unit |
| Window count and size | Larger openings and full-house packages carry different per-unit economics than a handful of windows |
| Site access and staging | Rural coastal lots with limited crane or lift access can add labor time |
| Coordination with framing schedule | Installing on a tight builder timeline versus an open schedule affects crew planning |
We give a written, itemized estimate before any order goes in, broken out by opening, so you can see exactly where the budget is going and adjust individual windows if needed rather than guessing at a lump sum.
Working With Your Builder and Whatcom County Permitting
New-construction window installation doesn't happen in isolation — it has to fit into the framing, house wrap, and siding sequence your builder or GC is running, and it has to meet Whatcom County's adopted building and energy code requirements for egress, tempered glazing at hazardous locations, and energy performance. We coordinate directly with builders and framers on scheduling so windows go in at the right point in the wall sequence, not before the opening is ready and not so late that it holds up siding. If you're the homeowner acting as your own GC, we're also glad to walk you through what inspectors will be looking for at the window-installation stage.
Why a Crew That Already Works Point Whitehorn Matters
A lot of window problems on coastal builds aren't caused by bad products — they're caused by installers applying an inland-standard approach to a shoreline-exposure house. A crew that regularly works Point Whitehorn and the rest of the Birch Bay area knows which elevations typically take the worst of the driving rain, how much margin to build into flashing details for salt air, and which frame and hardware choices actually hold up here versus which ones look fine on a spec sheet but underperform a few winters in. We also know the local building department's expectations and the realities of coordinating with builders on rural coastal lots — narrower access roads, limited staging space, and weather windows that can close quickly in the wet season.
That local familiarity shows up less in any single decision and more in the accumulation of small ones: the extra care on a west-facing kick-out flashing detail, the hardware upgrade that isn't pushed on every job but is recommended where it actually matters, the schedule flexibility to catch a dry stretch of days for exterior work. If you're building or adding on in Point Whitehorn and want windows installed to hold up to what this coastline actually delivers, we're happy to walk the plans with you and put together a straightforward, itemized estimate — no pressure, no obligation.