 Birch Bay
 Siding Installation in Lynden: A Job That Has to Match the Weather, Not Just the House
Siding installation sounds like a simple trade on paper: remove the old material, put up the new material, done. In practice, what separates an installation that holds up for decades from one that starts leaking behind the wall in a few wet seasons is almost entirely in the details — the ones that are invisible once the siding is up. That's especially true in Lynden, where homes deal with salt-laden marine air moving in off the coast, driving rain that hits walls sideways more often than straight down, and a moss and mildew season that can run most of the year on shaded or north-facing walls.
This page is specifically about siding installation for Lynden properties — what the climate demands, what a correct installation actually involves step by step, and why the crew doing the work matters as much as the material going up. We install James Hardie fiber cement exclusively. That's a professional standard, not a sales pitch, and it shapes how we approach every installation from the first inspection to the final walkthrough.
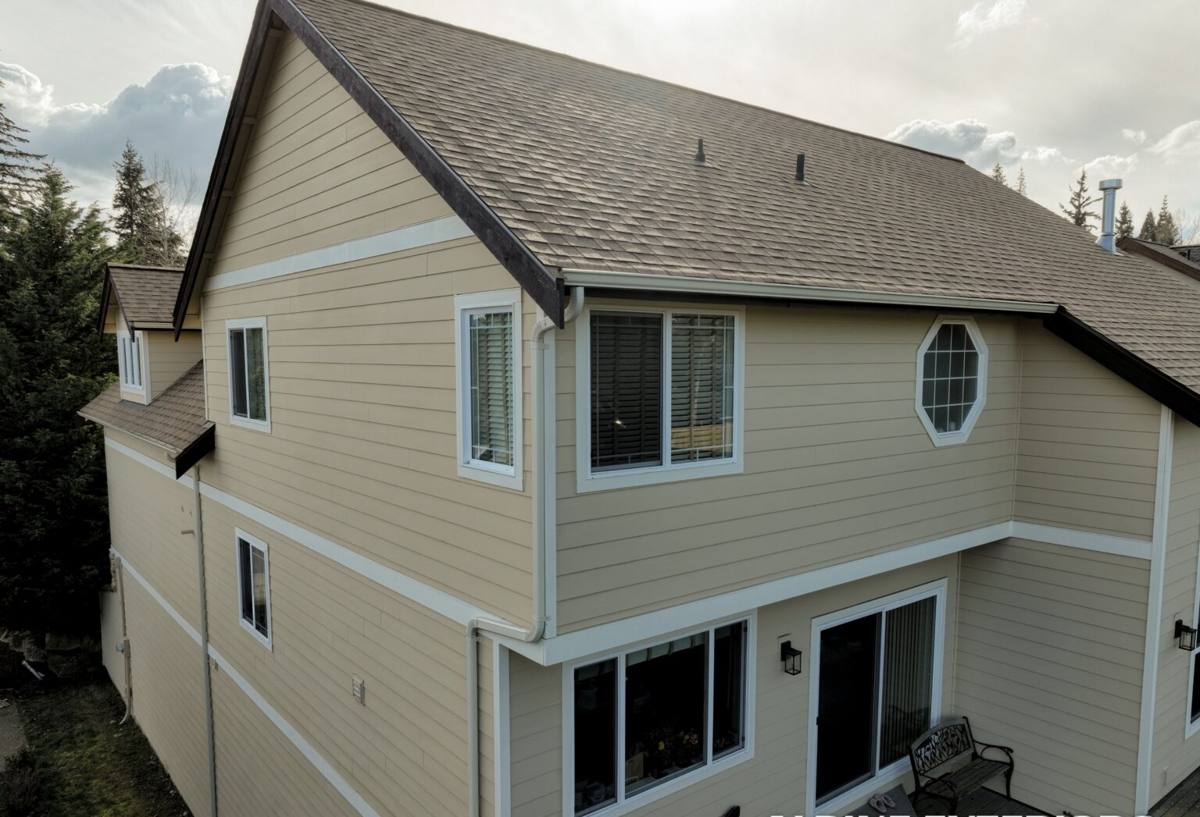
What Lynden's Climate Asks of a Siding Installation
Salt Air, Even Away From the Water
Lynden sits inland from the immediate Whatcom County coastline, which leads some homeowners to assume salt exposure isn't a real concern here. It still is. Marine air moves across this whole part of the county, and over years it works on fasteners, flashing, and lower-grade trim hardware. An installation that ignores that — using hardware rated for a dry, inland climate — is starting from a weaker position than the siding material itself would suggest.
Driving Rain That Hits Sideways
Rain through fall and winter rarely falls straight down in this part of Washington. Wind pushes it into wall assemblies, window flashing, and the joints where roofline meets wall. An installation that only accounts for water falling from above — rather than water being driven sideways and even slightly upward under wind pressure — will eventually let moisture behind the cladding, no matter how good the siding material is rated to be.
A Moss Season That Doesn't Really End
Mild temperatures, tree cover, and near-constant moisture add up to a moss and mildew season that runs close to year-round on shaded walls. Lynden's mix of open farmland and tree-sheltered residential lots means this varies a lot from house to house — an installation crew needs to read each wall's actual sun and shade exposure rather than applying one standard approach to every elevation.
What "Correct" Siding Installation Actually Involves
A siding installation is really a sequence of smaller decisions, most of which are permanently hidden once the job is finished. Getting each one right is what determines whether the wall performs for thirty years or starts showing problems in five.
- Substrate condition: The sheathing underneath has to be sound before anything new goes up — covering rot or soft spots just hides a problem that keeps getting worse behind the wall.
- Weather-resistive barrier: A continuous, properly lapped house wrap is the layer that actually stops bulk water; the siding itself is the second line of defense, not the first.
- Flashing at every penetration: Windows, doors, hose bibs, vents, and roof-to-wall transitions are where water gets behind siding — each one needs flashing that sheds water down and out, not just a bead of caulk.
- Clearance from grade and roofline: Siding installed too close to the ground, a deck, or a roof surface wicks moisture and traps debris, which accelerates damage regardless of the material.
- Fastener type, spacing, and depth: Manufacturer-specified fasteners, driven to the correct depth and spacing, keep the siding secured without cracking the material or leaving it loose enough to rattle and work water into fastener holes.
- Joint and seam treatment: Factory-mitered corners, correctly sized gaps, and the right sealant at butt joints keep water from tracking sideways along a wall.
New Construction vs. Re-Siding: Two Different Jobs
"Siding installation" covers two fairly different situations, and Lynden has both — newer construction and additions going up on the edges of town, and older homes throughout the area due for a full re-side. New construction installation starts with a clean sheathing surface and lets the weather barrier and flashing go in exactly to spec from the start. A re-siding job starts by removing what's there, which means the first real decision point is what tear-off reveals about the wall underneath — and that's often where a project's true scope becomes clear.
| Situation | What Changes | What Stays the Same |
|---|---|---|
| New construction / addition | Sheathing is new and unknown-condition risk is low; sequencing with other trades matters more | Same flashing, barrier, and fastening standards apply from day one |
| Full re-siding of an existing home | Tear-off may expose rot, old flashing, or an outdated barrier that needs correcting first | Manufacturer install spec still governs the new siding regardless of what's found underneath |
Our Installation Process for a Lynden Home
1. Inspection and Estimate
We start with a real look at the house — current siding condition if there is any, how sun and shade fall across different walls, and any visible signs of trapped moisture. That drives the estimate, rather than a flat per-square-foot number.
2. Tear-Off and Sheathing Check
On a re-siding job, once the old material comes off, we check the sheathing for rot or soft spots before anything new goes up. Anything compromised gets addressed at this stage, not hidden under new siding.
3. Weather Barrier and Flashing
The house wrap, window and door flashing, and every wall penetration get installed and lapped correctly before the first piece of siding goes up. This step is the hardest to inspect once the job is finished, so we treat it as the part of the job that can't be rushed.
4. Installation to Manufacturer Spec
James Hardie's product warranty depends on installation following their published specifications — fastener type and spacing, clearances, joint treatment, and field-cutting practices. We install to that spec as the baseline expectation, not as an upgrade option.
5. Trim, Caulking, and Final Details
Corner boards, trim around openings, and the sealant used at transitions are what most homeowners actually see day to day, and they're also functional water-management details, not just cosmetic ones.
6. Final Walkthrough
We walk the finished job with the homeowner, cover basic care expectations, and confirm the work matches what was estimated before calling it complete.
Why James Hardie Is the Only Material We Install
We used to install a broader range of siding products. We standardized on James Hardie fiber cement after seeing repeatedly what holds up through installation and years of Whatcom County weather versus what looks fine on a spec sheet and struggles a few winters into real exposure. Hardie's HZ5 formulation is engineered for regions with significant moisture exposure and freeze-thaw cycling — a close match for Lynden's climate. The factory-applied ColorPlus finish is baked on under controlled conditions rather than brushed on in the field, which matters for how long the color and adhesion hold up under sustained moisture. The material is also dimensionally stable, so it doesn't swell, cup, or warp the way engineered wood can after repeated wetting.
We don't install LP SmartSide, vinyl siding, Cemplank, Allura, primed spruce, or cedar. Each has a place in the market, and plenty of homeowners are satisfied with them elsewhere. Our decision is a professional one specific to installation sensitivity in this climate: some of those materials are far less forgiving of small installation errors — a slightly under-flashed joint or a marginal fastener choice matters more with a moisture-sensitive core than it does with fiber cement. We'd rather install one system correctly, every time, than offer a menu of options with uneven long-term outcomes.
Installation Mistakes That Show Up Years Later
Most siding installation problems don't show up on day one — they show up two, five, or ten years later, once repeated wet seasons have worked on a shortcut taken during the install.
- House wrap installed but not properly lapped, leaving seams that let water track behind the barrier
- Siding installed tight to grade, a patio, or a roof surface with no clearance gap
- Caulk used in place of proper flashing at window and door openings
- Fasteners overdriven, cracking the material, or underdriven, leaving panels loose
- Butt joints and corners left without the gap or sealant the manufacturer's spec calls for
- Damaged or marginal sheathing covered over instead of repaired before new siding went up
None of these are visible in a finished photo. They show up as a soft spot near a window, a stain below a roofline, or moss that keeps returning in the same spot no matter how often it's cleaned.
What Affects Cost and Timeline on a Lynden Installation
Every estimate is specific to the house, but a handful of factors consistently move both the price and the schedule: total square footage and number of stories, how much trim and detail work surrounds windows and rooflines, whether it's new construction or a re-side with tear-off involved, the condition of the sheathing once it's exposed, and which James Hardie product line and color are specified. Weather also plays a real role in scheduling here — installation crews in Whatcom County work around wet stretches rather than through them, since a weather barrier and flashing installed in a downpour is a weather barrier installed poorly.
| Factor | Why It Matters |
|---|---|
| New construction vs. re-side | Tear-off and sheathing repair add labor and can add time if damage is found |
| Trim and detail complexity | Homes with more windows, dormers, and roofline transitions require more flashing and cutting time |
| Product line and color | Different Hardie lines and factory finishes carry different material costs |
| Season and weather window | Barrier and flashing work needs a dry install window, which can shift scheduling |
Why Hiring a Crew That Already Works Lynden Matters
A siding installation crew that works this part of Whatcom County regularly already has a working sense of which wall orientations on a Lynden property tend to stay wet longest, where extra flashing attention consistently pays off, and which install-day shortcuts turn into callbacks two winters later. That's not something a spec sheet or a general installation manual can substitute for — it comes from doing this specific work, in this specific climate, on enough houses to see the pattern. It also means that if a warranty question or maintenance question comes up years down the line, it's a call to a crew still working in the area, not one that's moved on.
If you're planning a siding installation for a Lynden home — new construction, an addition, or a full re-side — we're glad to come take a look and walk you through what your specific house needs. Reach out using the form below for a free, no-pressure estimate.