 Birch Bay
 Building New in Terrell Creek Means Building for the Weather, Not Around It
Terrell Creek sits low and close to water, tucked into the marsh and creek corridor near Birch Bay in Whatcom County. That's a good spot to build a home, but it's a demanding spot to build one correctly. Homes here take on salt-laden air off the bay, long stretches of driving rain through fall and winter, and a moss-and-mildew season that can run most of the year in shaded, low-airflow areas near the water. New-construction windows are one of the first things in the building envelope to get tested by that environment, and one of the hardest things to fix properly once siding, trim, and interior finishes are closed up around them.
We install new-construction windows on homes going up in and around Terrell Creek, working directly with builders, general contractors, and owner-builders during framing and dry-in. This page covers what that work actually involves here, what correct installation looks like in this climate, and why the sequencing matters more than the window brand itself.
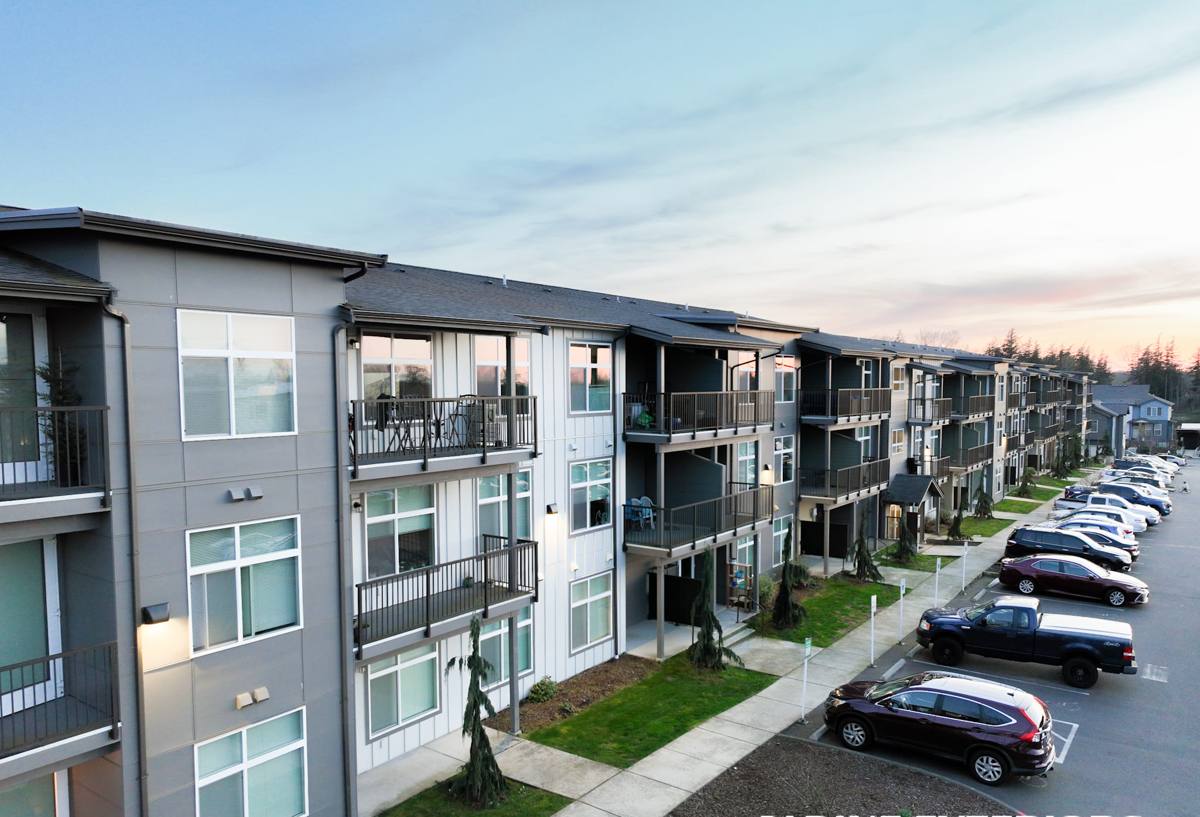
What Terrell Creek's Climate Actually Does to a Window Opening
Salt Air and Metal Fatigue
Proximity to Birch Bay means airborne salt reaches framing, fasteners, and window hardware even on homes that aren't right on the water. Salt accelerates corrosion on uncoated fasteners, cheap balance hardware, and low-grade flashing metal. It doesn't ruin a window overnight, but it shortens the life of anything not rated for a marine-adjacent environment.
Driving Rain, Not Just Rain
Wind off the water pushes rain sideways into wall assemblies, not just straight down onto roofs. That means water is hitting window flanges, corners, and head flashing at an angle, probing for any gap in the flashing sequence. A window that would perform fine in a sheltered inland lot can leak here if the integration with the weather-resistive barrier isn't done in the right order.
Moss Season and Sustained Moisture
Low ground near the creek, tree cover, and long shoulder seasons of damp, still air add up to conditions where moss, algae, and mildew get a foothold on anything that stays wet. Window sills, bottom flanges, and any trim detail that traps water instead of shedding it will show growth faster here than in a drier part of the county.
What a Correct New-Construction Window Install Involves
"New-construction" window (as opposed to a replacement or retrofit window) refers to the flange-style unit installed during framing, before siding and exterior finishes go on. Correct installation depends far more on sequencing than on the window itself.
The Order Matters
- Rough opening is checked for square, level, and correct dimensions before the window ever shows up on site.
- Weather-resistive barrier (house wrap) is installed and cut for the opening using a proper flashing pattern, not a simple straight slice.
- Sill pan flashing goes in first, sloped or built to shed water outward, so any water that gets past the window has somewhere to go besides the framing.
- The window is set, shimmed for level and square, and fastened per the manufacturer's schedule — not just at the corners.
- Side flanges are flashed, then head flashing last, always lapped so water sheds down and over the layer below it, never into it.
- Interior air sealing (backer rod and sealant, or low-expansion foam) closes the gap between the frame and rough opening without bowing the frame.
Where Coastal Jobs Go Wrong
The most common failure point we see on homes in this kind of environment isn't the window — it's the sill pan and the head flashing lap sequence. Skip the sill pan, or lap something backward, and the house wrap looks fine on move-in day while water quietly finds its way into the framing over the following winters. In a driving-rain environment like Terrell Creek, that mistake shows up faster than it would on a sheltered inland lot.
Choosing Windows for a Salt-Air, High-Moisture Site
There's no single "right" window brand for coastal Whatcom County — there's a right frame material and hardware spec for the exposure level of a given lot. The table below reflects general trade-offs, not a ranking of any specific manufacturer.
| Frame Type | Salt Air Performance | Maintenance | Typical Trade-Off |
|---|---|---|---|
| Vinyl | Good — won't corrode | Low | Can flex on larger openings; hardware quality varies widely by manufacturer |
| Fiberglass | Very good — stable, low expansion | Low | Higher upfront cost; strong option for exposed elevations |
| Aluminum-clad wood | Fair to good — depends on cladding and seal quality | Moderate | Excellent look, but any breach in the cladding seal exposes wood to sustained moisture |
| Bare wood | Poor in direct salt exposure | High | We generally steer clients away from unclad wood on exposed Terrell Creek elevations — not because wood is a bad material, but because the maintenance burden in this climate is real and easy to underestimate |
Hardware Matters as Much as the Frame
Corrosion-resistant fasteners, stainless or coated hinges and locks, and quality weatherstripping matter more on a Terrell Creek build than they would further inland. We flag hardware specs during the plan review stage so builders aren't discovering a mismatch after windows are ordered.
Our Process for New-Construction Window Installs
1. Plan Review Before Framing Is Finished
We look at window schedules, elevations, and site orientation — which walls face the water and prevailing wind, which are sheltered — so flashing details and hardware choices match actual exposure, not a generic spec sheet.
2. Coordination With the Builder's Schedule
New-construction window work has to land at the right moment: after framing and house wrap, before siding. We work on the builder's timeline, not the other way around, since a missed window in the schedule can hold up the whole dry-in sequence.
3. Flashing and Sill Pan Installation
This is the step we treat as non-negotiable. Every opening gets a proper sill pan and a correctly lapped flashing sequence, regardless of whether the wall is on the exposed side of the lot or the sheltered side.
4. Setting, Shimming, and Fastening
Every unit is set level, plumb, and square, shimmed to manufacturer tolerances, and fastened per the schedule. We check operation — sash movement, locks, and seals — before moving to the next opening.
5. Final Walkthrough With the Builder
Before siding closes the openings up, we walk the exterior with the builder or site super so any flashing detail can be inspected while it's still visible and correctable.
Checklist: What to Confirm Before Windows Go In on a Terrell Creek Build
- Rough openings verified square, level, and to correct dimension before window delivery
- Sill pan flashing specified for every opening, not just ground-floor or water-facing walls
- Fastener and hardware spec matches coastal/salt-air exposure, not a standard inland package
- Flashing lap sequence (sill, sides, head) confirmed in writing with the crew doing the install
- Frame material selected with the specific wall's sun, wind, and rain exposure in mind
- Interior air sealing plan doesn't rely on foam alone to also do the job of exterior flashing
- Walkthrough scheduled before siding crew closes up the openings
Why a Crew That Already Works Terrell Creek Is Worth Choosing
Window installation instructions are written by manufacturers for a generic climate. They don't tell an installer which elevation on a Terrell Creek lot takes the worst of the winter wind, or how much slower things dry out on a shaded, low-lying site near the creek versus a more open lot a mile away. That judgment comes from working this specific area repeatedly — seeing which details hold up and which ones come back as callbacks a few winters later.
We also coordinate directly with builders already working in Birch Bay and the surrounding Whatcom County area, which keeps the window install from becoming the bottleneck in a dry-in schedule. A crew unfamiliar with the site conditions here is more likely to default to standard details that work fine in drier, calmer parts of the state but leave gaps in a driving-rain, salt-air environment.
Cost Factors on a New-Construction Window Package
Pricing depends on the number and size of openings, frame material, glazing package, and site access — not on the fact that the lot is in Terrell Creek specifically. That said, a few factors tend to move the number on coastal builds more than inland ones:
| Factor | Why It Affects Cost |
|---|---|
| Frame material upgrade (fiberglass or clad wood vs. standard vinyl) | Better long-term performance in salt air, at a higher unit cost |
| Enhanced flashing and sill pan detailing | More labor and material per opening, offset by fewer moisture callbacks later |
| Impact or upgraded glazing | Added cost per unit, relevant on exposed elevations facing open water or wind |
| Number of exposed vs. sheltered elevations | Exposed walls may warrant a higher hardware and flashing spec than sheltered ones on the same house |
We give straightforward, itemized numbers during plan review rather than a single lump estimate, so a builder or owner can see exactly where the coastal-specific upgrades are and decide where it's worth spending more.
If you're framing a new build in Terrell Creek or elsewhere around Birch Bay and want the window package looked at before it's locked into the plans, we're happy to walk through it with you. Reach out for a free, no-pressure estimate using the form below.